Automate Forms to Google Sheets A Practical Guide
Tired of manually downloading CSV files from your forms just to copy and paste them into a spreadsheet? If you're running any kind of lead generation, you know that delay is the enemy. The time it takes to get a lead from your form into the hands of your sales team can mean the difference between a hot prospect and a missed opportunity.
That's where a direct connection between your forms and Google Sheets becomes an absolute game-changer.
Why You Need to Connect Your Forms to Google Sheets
Let's be real: manual data entry is a soul-crushing, error-prone task. Typos, missed entries, and jumbled formatting can poison your data before you even get a chance to use it. By setting up an automated sync, you ensure every single lead is transferred perfectly, every single time.
But it’s about more than just avoiding mistakes.
Get Your Hands on Data in Real-Time
When your form submissions flow directly into a Google Sheet, you create a single source of truth for your entire team. No more asking, "Hey, did you download the latest leads?" Everyone from sales to marketing can see new leads pop up the second they come in.
This instant access means you can follow up with people while their interest is still sky-high. Think of your Google Sheet not just as a static file, but as a live dashboard for your business.
Suddenly, a simple spreadsheet becomes the command center for your lead management, where you can collaborate, analyze, and act on new opportunities immediately.
Here's a quick look at just how different the two approaches are:
Manual Data Entry vs Automated Syncing
| Metric | Manual Data Entry | Automated Syncing |
|---|---|---|
| Lead Response Time | Hours or days | Seconds or minutes |
| Data Accuracy | Prone to human error | 99.9% accurate |
| Team Efficiency | Wastes time on admin tasks | Frees up team for sales |
| Scalability | Becomes a bottleneck | Handles any volume easily |
| Data Accessibility | Siloed and outdated | Centralized and real-time |
The table really says it all. Automation isn't just a "nice-to-have"; it's a fundamental shift in how you operate.
Build a Lead Management System That Actually Scales
This one simple automation is the foundation for a lead management process that can grow with you. When your campaigns take off, you won't need to hire someone just to handle the data entry. The system scales effortlessly, letting your team focus on what they do best: nurturing leads and closing deals.
The move towards this kind of efficiency is undeniable. Research suggests that by 2025, a staggering 75% of companies will be using tools like Google Forms connected to Sheets for instant data collection. The days of manual spreadsheet wrestling are numbered.
Connecting forms to spreadsheets isn't just about saving time. It's about building an agile data system that helps you make faster, smarter decisions as your business grows.
This is just one piece of the puzzle. To see how it fits into a bigger strategy, it’s worth exploring other essential business automations that are helping modern companies get ahead and stay competitive.
Preparing Your Facebook Lead Form and Google Sheet
Before you can get your leads flowing from Facebook into Google Sheets, you need a solid foundation on both ends. Trust me, a sloppy setup here is the #1 cause of headaches later. Taking a few minutes to get this right is non-negotiable if you want a clean, reliable data flow.
The goal is simple: create a perfect match between the information you ask for on Facebook and the place it’s going to live in your spreadsheet.
Let's start with your Facebook Lead Form. Think carefully about what information you truly need. It’s always tempting to ask for everything under the sun, but remember, every extra field you add can drag down your form's completion rate.
Focus on the essentials first. For most businesses, this means getting the basics to qualify and contact a new lead.
- Full Name: This is a no-brainer for personalizing your follow-up.
- Email Address: Your primary channel for welcome emails and nurturing sequences.
- Phone Number: Absolutely essential if your sales team needs to make direct contact.
- A Qualifying Question: This is your secret weapon. Something specific like, "What's your biggest marketing challenge?" helps you understand their needs right out of the gate.
Once you’ve nailed down your form fields, it’s time to build its destination: the Google Sheet. This isn't just about clicking "New Sheet"; it's about structuring it for clarity and flawless automation.
Crafting Your Google Sheet for Success
First things first, create a new, blank Google Sheet. Give it a clear, descriptive name like "Facebook Leads – Q4 Campaign" so you aren't hunting for it weeks from now. This simple bit of organization is a lifesaver, especially once you're running multiple campaigns.
Now for the most critical part: creating your column headers. These headers must precisely match the field names in your Facebook form. If your form asks for "Full Name," your first column header in the sheet has to be "Full Name" too.
Mismatched names are the single biggest reason data mapping fails. A tiny difference, like using "email" in your form and "Email Address" in your sheet, will break the connection and leave you with frustratingly empty cells.
Here’s how to set up your sheet for a perfect sync, using our example:
- Column A: Full Name
- Column B: Email Address
- Column C: Phone Number
- Column D: Biggest Marketing Challenge
- Column E: Submission Date (Here’s a pro-tip! Most automation tools can add a timestamp automatically. This is invaluable for tracking how old a lead is.)
With your columns named correctly, your sheet is now the perfect digital container, ready to catch every single lead. This prep work ensures a smooth connection when you start building the automation. For a deeper dive, check out our complete guide on the Facebook Lead Ads to Google Sheets integration for more advanced tips.
Alright, with your Facebook form polished and your Google Sheet waiting, it’s time to actually build the bridge between them.
This is where the magic happens. We'll be using LeadSavvy Pro for this because it's built specifically for this one job: getting leads from forms to Google Sheets without any headaches or complicated setups.
First thing's first, you'll need a LeadSavvy Pro account. Once you're signed up, the platform walks you right through authorizing your Facebook and Google accounts. This is a standard, secure step that gives the tool permission to see your lead forms and, more importantly, add new rows to your spreadsheet on your behalf. Don't worry, it only gets the access it needs to do its job.
With permissions granted, you’ll create your first automation, which is called a "Flow" inside LeadSavvy Pro. Think of a Flow as the set of instructions that tells your lead data exactly where to go.
Setting Up Your First Data Flow
Kicking off a new Flow is super straightforward. You’ll want to give it a name you'll actually remember, like "Q4 Campaign Leads" or "Website Ebook Downloads," so you can easily find it later.
Next, you just pick the Facebook Page your lead ads are running on from a simple dropdown menu. As soon as you do, LeadSavvy Pro instantly pulls up a list of all the active lead forms on that page.
From there, just click the specific form you prepped earlier. This tells the system which lead source to keep an eye on. The final piece is connecting it to its destination—your Google Sheet. You'll choose your Google account, then select the exact spreadsheet and the specific worksheet you created for this campaign.
This simple graphic shows the whole idea: getting your form and your sheet ready is 90% of the battle.
A well-structured form and a matching sheet are the two key ingredients for a perfect automation.
The Critical Step: Field Mapping
Pay attention here, because this is easily the most important part of the whole setup. Field mapping is simply telling LeadSavvy Pro which piece of form data goes into which column in your Google Sheet.
If you get this right, your data lands exactly where it should, perfectly organized. If you mess it up, you’ll have a jumbled spreadsheet that’s more confusing than helpful.
LeadSavvy Pro makes this about as easy as it can be with a two-column layout. On the left, you'll see all the fields from your Facebook Form (like "Full Name," "Email," "Phone Number"). On the right, next to each one, is a dropdown menu filled with the column headers from your Google Sheet.
Your only job is to play matchmaker.
- Match the "Full Name" form field to your "Full Name" sheet column.
- Match the "Email" form field to your "Email Address" sheet column.
- Keep going until every single form field has a home in your spreadsheet.
Take your time on this step. Seriously. Double-check that every single form field is mapped to the correct column. A single mismatch, like putting the phone number in the email column, will cause chaos and create a cleanup nightmare for you down the road.
Once you've confirmed all your mappings are correct, just save and activate the Flow. And that's it. You're done. Your automation is now live, and every new lead that comes through that Facebook form will pop up as a new row in your Google Sheet, instantly.
If you want to get a better handle on the concepts behind this, understanding no-code automation workflows is a great place to start. And while we think LeadSavvy Pro is the best tool for this job, you can see how it stacks up against other options in our ultimate alternative to Zapier breakdown.
Testing and Troubleshooting Your Data Connection
An automation is only as good as it is reliable. Once you've mapped your fields and set your Flow live, the last—and most important—step is to make sure data is actually flowing from your forms to Google Sheets. You can't just set it and forget it; you have to test it.
Luckily, you don't need to burn through your ad budget to do this. Facebook provides a fantastic, free utility called the Lead Ads Testing Tool. It lets you push a "test lead" through any of your live forms, simulating a real submission without costing you a dime or showing your ad to anyone.
Just select your Page, choose the form you just connected with LeadSavvy Pro, and punch in some fake data—something like "Testy McTesterson" always works. Hit submit.
Verifying the Data Transfer
Now, flip over to your Google Sheet. If you've got everything hooked up right, that test data should pop into a new row almost instantly. That magic moment when the information just appears is your proof that the automation is live and working perfectly.
If you see your test lead's data all neatly organized in the right columns, you're golden. Congratulations, your connection is solid!
But what if you're staring at a blank spreadsheet after a minute or two? Don't panic. This is a common hiccup and is usually a simple fix. It's time to put on your detective hat and check a few key places where things tend to go sideways.
The goal here is simple: every form submission should create a new row in your sheet, with each answer mapped to its own column. Power users often take this a step further with functions like
IMPORTRANGE()to pull this live data into other spreadsheets for more advanced reporting. You can find some cool ideas for organizing form data in Google Sheets at GeeksforGeeks.
Common Troubleshooting Fixes
When data doesn't show up, the problem is almost always related to permissions or a simple mapping mistake. Just work through this checklist methodically.
-
Re-authenticate Your Accounts: Connections to Facebook or Google can sometimes time out for security reasons. The quickest fix is to pop back into your LeadSavvy Pro dashboard and simply re-authenticate both accounts. This often gets things flowing again in seconds.
-
Double-Check Your Field Mapping: This is the #1 culprit. Seriously. Go back to your Flow’s mapping screen and carefully check that every single form field on the left is matched to the correct column on the right. It’s incredibly easy to accidentally map "Email" to the "Phone Number" column or just miss one entirely.
-
Confirm Permissions: Make sure the Google account you connected has "Editor" access to that specific Google Sheet. If your permissions are set to "Viewer" or "Commenter," LeadSavvy Pro won't be allowed to write new rows, and your leads will have nowhere to go.
If you’ve checked these three things, you’ve likely found the problem. Run one more test lead through Facebook’s tool to be sure, and watch as your data finally lands exactly where it belongs.
Taking Your Lead Data to the Next Level
Getting your form submissions flowing into Google Sheets is a massive win, but that’s really just the starting line. A raw list of leads is just data; an organized list becomes a powerful sales and marketing machine.
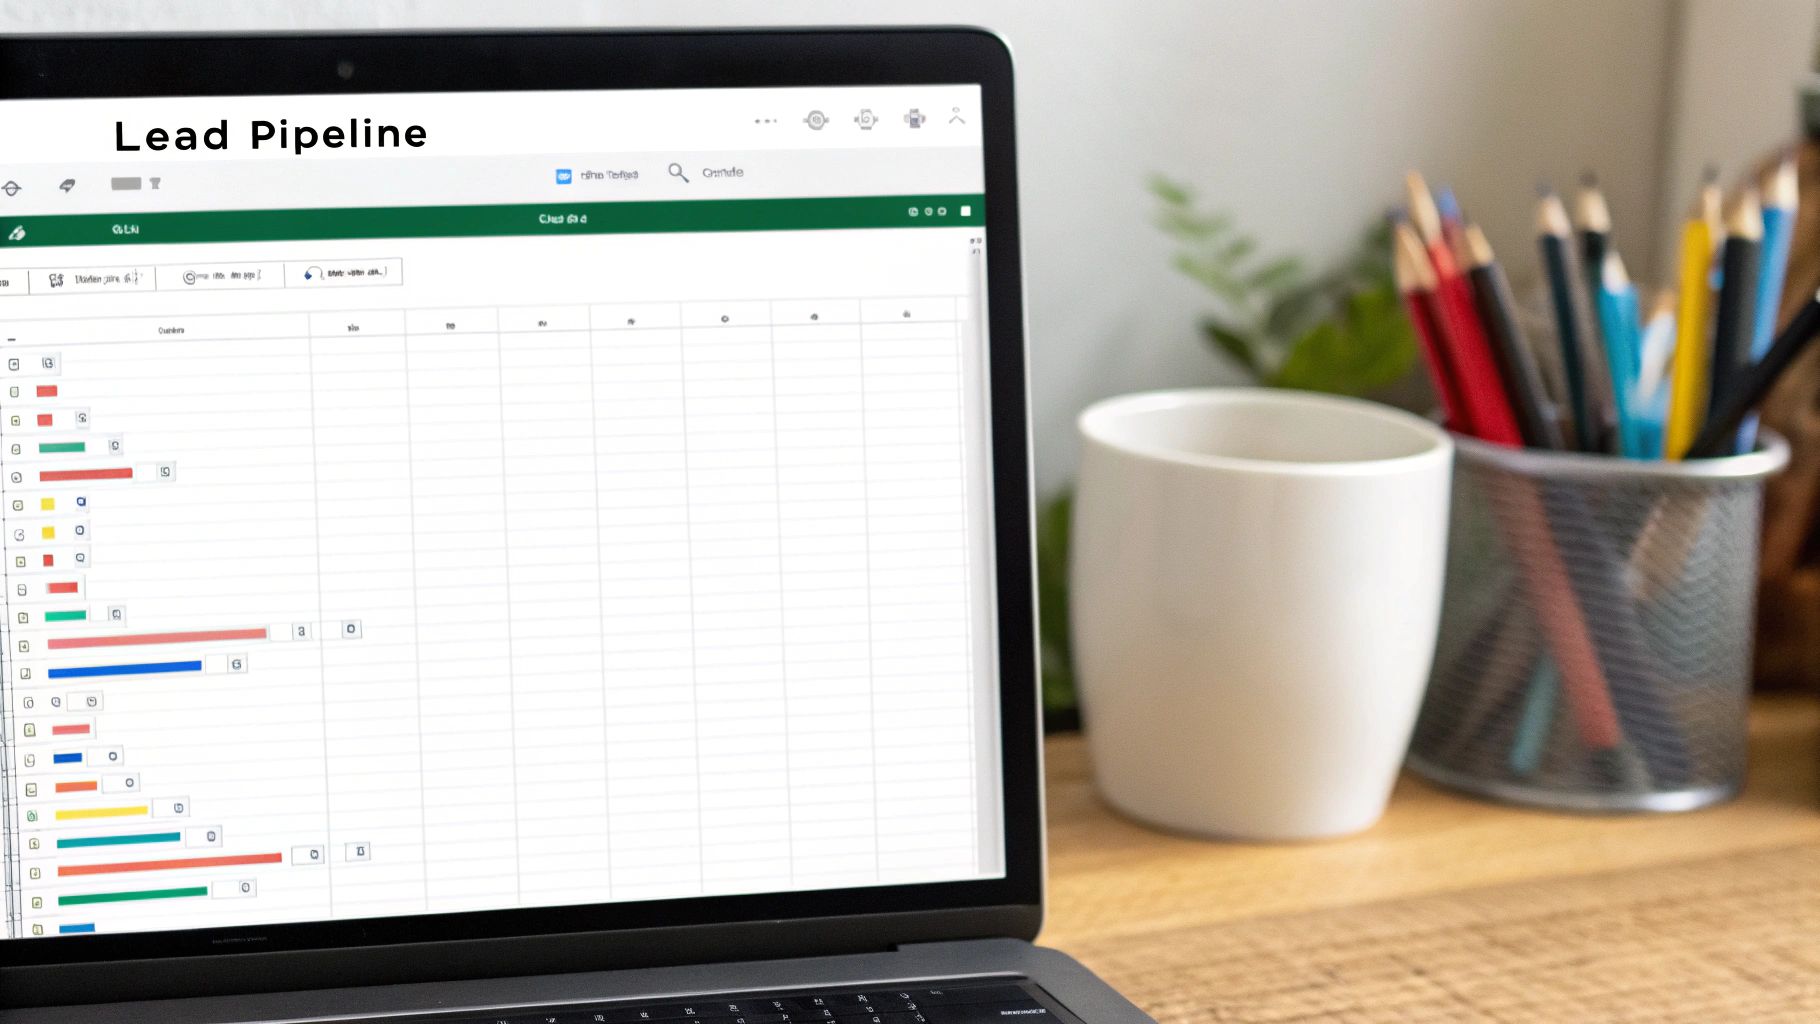
It’s time to stop thinking of your sheet as a simple list and start treating it like a dynamic lead management pipeline. The easiest, most impactful change you can make is adding a "Status" column. This one simple move lets you track a lead's entire journey from the moment they land in your sheet.
Build a Simple Lead Pipeline
First things first, let's define the key stages for your leads. You don't need to overcomplicate this. In fact, simpler is almost always better when you're starting out.
Try these statuses:
- New: This is the default for every single lead that hits your sheet.
- Contacted: Your team has made the first move, whether it's an email or a phone call.
- Qualified: You've had a conversation and confirmed they're a solid potential customer.
- Closed – Won: Cha-ching! You made the sale.
- Closed – Lost: They weren't a good fit, or maybe they went with a competitor. It happens.
Just like that, your static list becomes a living, breathing document. You can see exactly where every prospect is in your sales process, which makes follow-ups and prioritizing your day a whole lot easier.
Make Your Best Leads Pop with Conditional Formatting
Now, let's make your high-priority leads impossible to ignore. Google Sheets’ conditional formatting feature is perfect for this. It lets you create rules that automatically change a cell's color based on what’s inside it.
For example, set up a rule that turns the entire row green the second its status changes to "Qualified." Or, you could highlight all "New" leads in yellow so your sales team knows exactly who to jump on next. This visual shortcut helps you spot opportunities—and bottlenecks—in a single glance.
Managing your leads right inside Google Sheets means you’re using a tool that's already a collaboration powerhouse. It’s incredibly popular for a reason: in the United States, 54% of small businesses actually prefer it over Excel. By 2025, it’s projected that over 42 million users will be relying on it every day. You can see more stats on how businesses use Google Sheets at sqmagazine.co.uk.
As your sheet starts filling up with valuable customer info, keeping it secure is non-negotiable. Use Google’s built-in sharing settings to lock down who can view or edit your data. Only give editor access to the people who absolutely need it to prevent accidental deletions or mistakes.
For an even more powerful setup, you can eventually build a full-blown CRM right inside Google Sheets.
Got Questions? Let's Talk Form and Sheet Integrations
Setting up your first automation to get leads from a form into a Google Sheet usually brings up a few questions. That's totally normal. Getting the small details right from the start is the key to making sure your lead data flows in smoothly without any hiccups.
Let’s run through some of the most common things people ask when they're getting this set up.
Can I Connect Other Kinds of Forms?
You bet. While we've been focusing on Facebook Lead Ads, these same steps work for just about any online form you can think of. It doesn't matter if you're using Google Forms, Typeform, Jotform, or a custom form on your website—you can get those submissions into a Google Sheet.
The process is pretty much the same. You just need an automation tool to be the middleman. You'll pick your form as the "trigger" (what starts the process) and Google Sheets as the "action" (where the data goes). Then you just map the fields, exactly like we did earlier.
The only real catch is making sure your automation tool can talk to your form builder. LeadSavvy Pro is built specifically for Facebook, but tools like Zapier or Make are great for connecting all sorts of different form types to Google Sheets.
What Happens if I Change My Form or My Sheet?
This is a super important one. Your automation isn't something you can just set up and forget about forever, especially if you're tweaking your forms or spreadsheets. If you add a new question to your form or just rename a field, your data mapping will instantly be wrong.
Worst case, the whole connection breaks. Best case, you start getting messy, incomplete data. The same thing happens if you rename a column in your Google Sheet or even change the name of the spreadsheet file itself. The automation won't know where to send the info anymore.
Here’s the right way to make changes to avoid a mess:
- First, pause your automation in whatever tool you're using.
- Go make your changes to the form or the sheet.
- Head back to your automation tool and update the field mapping to match your new setup.
- Run a quick test to make sure a new submission shows up correctly.
- Once you've confirmed it's working, turn the automation back on.
Are There Any Limits on How Many Submissions I Can Get?
Limits usually come from two places: the plan you have with your automation tool and Google Sheets itself. Most of the third-party tools have monthly limits on their free plans—one form submission usually counts as one "task" or "operation."
If you're expecting a flood of leads, you'll probably need to jump on a paid plan to handle all of them. As for Google Sheets, its limits are massive. A single spreadsheet can hold up to 10 million cells. Honestly, for almost any lead generation campaign, that's more than enough room to last for years.
Is It Secure to Send My Lead Data to Google Sheets?
When it’s set up the right way, yes, it's a secure process. All the reputable automation platforms use encrypted connections (HTTPS) to move data, so it's protected while it travels from the form to your sheet.
But the biggest security job is on you—it's all about how you manage the actual Google Sheet. You have to be really strict with who you share it with. Only give access to team members who absolutely need it. And whatever you do, never make a sheet with lead data public. If you're handling really sensitive info, you need to make sure you're following rules like GDPR and maybe even look into a proper database instead.
Ready to stop downloading CSVs and start getting leads in real time? LeadSavvy Pro makes connecting your Facebook Lead Ads to Google Sheets incredibly simple. Get started with our free plan and have your first automation running in minutes!