Ultimate Guide to the Lead Form on Facebook That Converts
A lead form on Facebook is a native tool built right into the platform, designed to capture a potential customer's information without ever making them leave the app. The real magic? It works by pre-filling fields with the user's existing Facebook data, which slashes the friction and dramatically boosts the chances they’ll actually complete the form.
Think about it. Sending someone to an external landing page is a recipe for drop-off. But with a lead form, the whole process happens seamlessly inside an environment they already know and trust.
Why Facebook Lead Forms Are Conversion Machines
The secret sauce behind a lead form on Facebook is simple: it removes annoying barriers. Let's walk through the old, clunky customer journey. A person sees your ad, clicks it, and then gets booted to a new website. They have to wait for it to load, then squint at their phone to manually type in their name, email, and phone number. Every single step is a chance for them to get distracted and bail.
Facebook Lead Forms completely short-circuit this process, turning a multi-step chore into just a few quick taps.
The Power of Pre-Filled Information
The single biggest win here is the auto-fill feature. Because users are already logged into Facebook, the form can instantly populate fields like their full name, email address, and phone number. This is an absolute game-changer, especially for mobile users who make up the bulk of ad traffic these days.
Instead of battling a tiny keyboard, they just review the pre-filled info and hit "submit." It's that smooth experience that sends conversion rates through the roof.
This infographic breaks down how Meta's powerful targeting, combined with these frictionless forms, creates an unstoppable lead generation funnel.
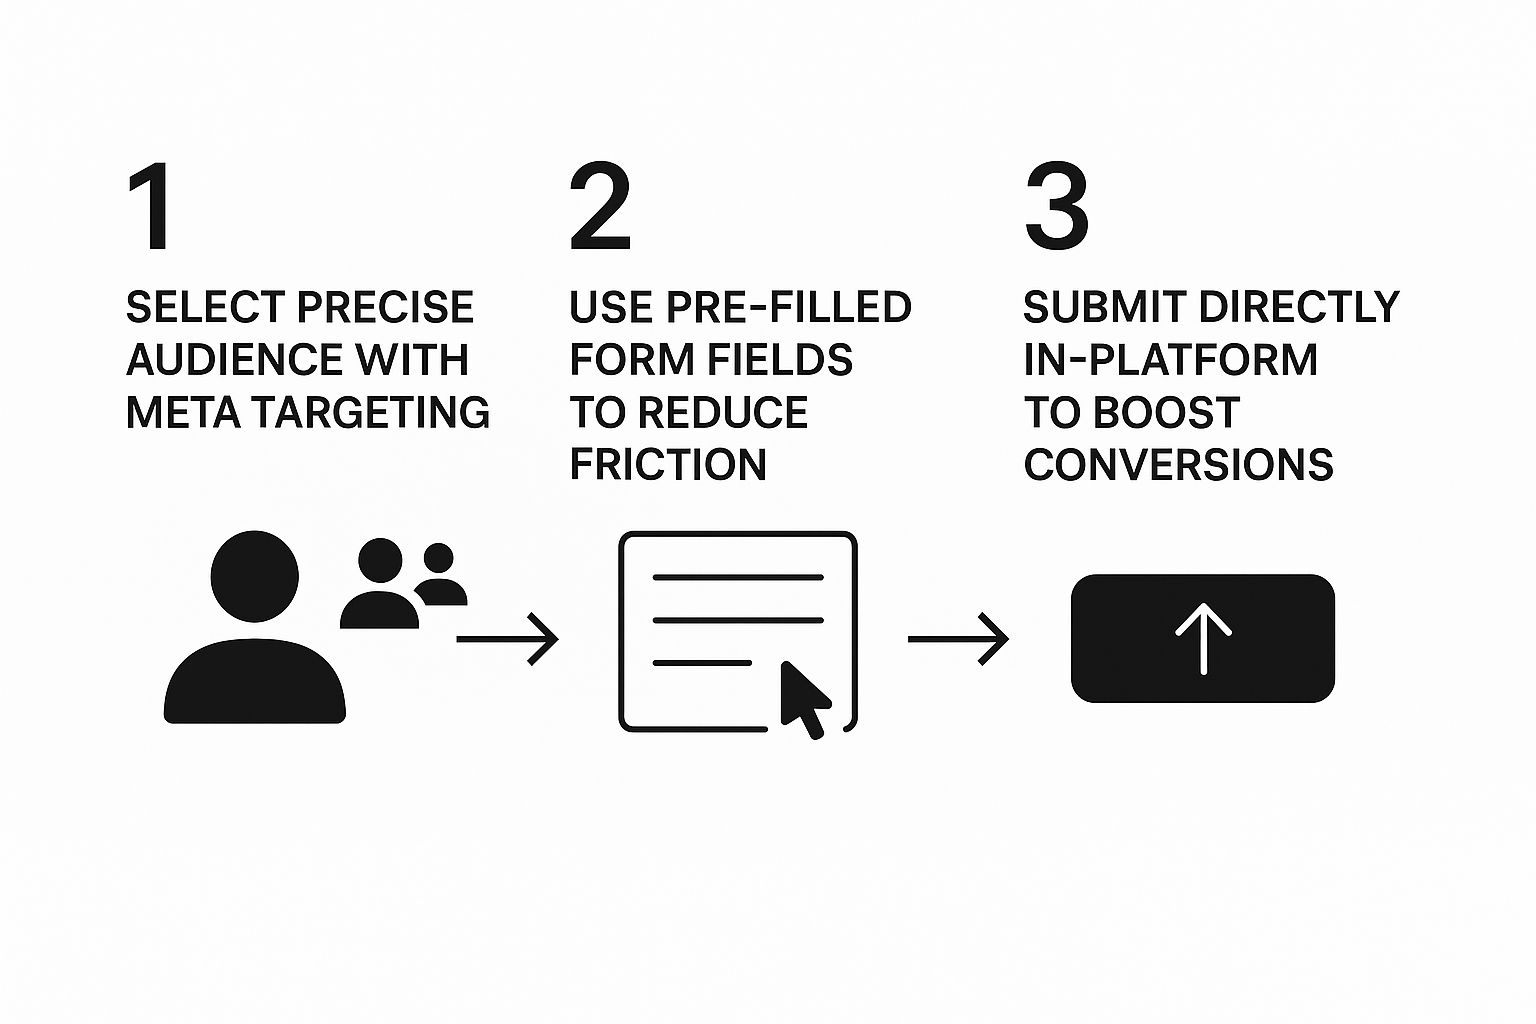
As you can see, it all starts with pinpointing the right audience and ends with a dead-simple, in-app submission.
Let's quickly review the core benefits.
Key Advantages of Facebook Lead Forms
A quick look at the core benefits you'll gain by using Facebook Lead Forms in your campaigns.
| Benefit | Impact on Your Business |
|---|---|
| Reduced Friction | Drastically increases form completion rates by pre-filling user data. No more manual typing. |
| Mobile-First Design | Perfectly optimized for mobile users, where most ad interactions happen. |
| Higher-Quality Leads | Pre-filled data is more accurate, reducing typos and fake information. |
| Lower Cost Per Lead (CPL) | Higher conversion rates often lead to a more efficient ad spend and lower CPL. |
| Seamless User Experience | Keeps users within the familiar Facebook/Instagram app, building trust and comfort. |
These advantages work together to create a far more effective and efficient lead generation process.
Reaching the Right People at the Perfect Moment
Beyond the form itself, you can’t forget about Meta's incredible ad targeting engine. You can laser-focus your campaigns on people based on demographics, what they're interested in, their online behaviors, and even how they've interacted with your business before. This lets you put your offer right in front of the audience most likely to convert.
When you combine hyper-specific targeting with a low-friction submission process, you create a highly efficient lead-generation machine. It’s not just about getting more leads; it’s about getting the right leads.
The numbers back this up. On average, Facebook lead generation ads hit a conversion rate of around 8.25%, fueled by a staggering user base of nearly 3 billion monthly active users. What’s more, research from Inbeat.agency reveals that 66% of marketers successfully generate leads from social media with a minimal time investment.
Alright, let's get into the nuts and bolts of building your first high-impact lead form on Facebook. Theory is great, but putting it into practice is what gets results. We'll walk through this using a simple, real-world scenario: a local gym offering a free 7-day trial pass. This example makes every step tangible and easy to apply to your own campaigns.
The whole process kicks off in Facebook Ads Manager when you start a new campaign. The very first decision you'll make is choosing your campaign objective. For this, you’ll want to select "Leads." This tells Meta's algorithm exactly what you're after: collecting contact details from people who are interested in what you're offering.
Choosing Your Form Type and Setting the Stage
Once you've got your campaign and ad set dialed in, you’ll land at the ad level—this is where the form creation magic happens. Facebook gives you a couple of options for your form, but for most situations, the Instant Form is the way to go. It’s a native form that keeps people right inside the app, pre-filling their info and making it incredibly easy to submit.
For our gym example, we'll start with the "More Volume" form type. Our goal right now is just to get as many people as possible to sign up for the free trial. If you run the campaign and find the lead quality isn't quite there, you can always switch to the "Higher Intent" option later. That adds a quick review step for users before they hit submit, which can weed out less serious inquiries.
Next, you'll tackle the intro section. This is your first impression, so make it count. You need a strong headline and a clear, benefit-focused description.
- Headline: "Your Free 7-Day All-Access Gym Pass"
- Description: "Claim your free pass to our state-of-the-art facility! Experience our top-tier equipment, expert-led classes, and supportive community for a full week—no commitment required."
This screenshot from Facebook’s own help center shows you exactly where you'll start plugging in these details.
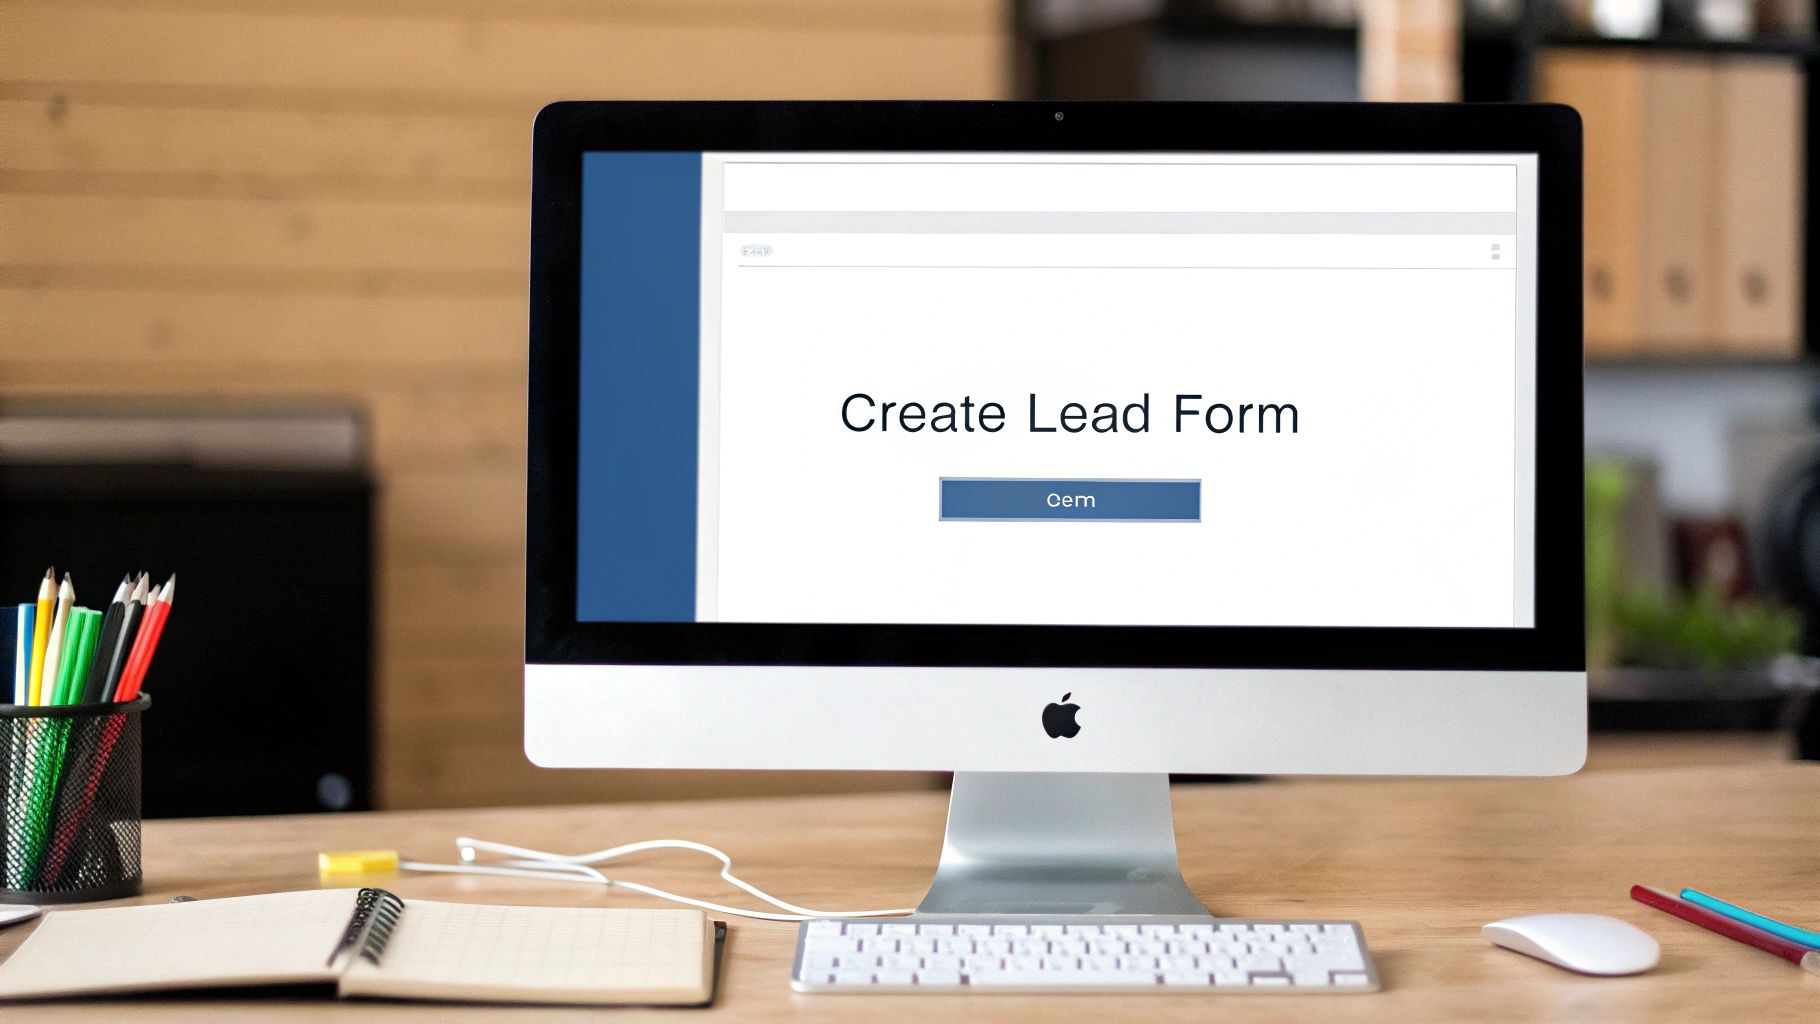
This is ground zero for crafting the entire user experience, from the headline all the way to the final thank you screen.
Asking the Right Questions
Now for the most important part: deciding what info to ask for. The golden rule here is simple: ask for only what you absolutely need. Every single field you add is another bit of friction that can tank your conversion rate.
For the gym's free trial, let's stick to the basics that Facebook can pre-fill for them:
- Full Name
- Email Address
- Phone Number
That's it. These three fields give the gym's sales team everything they need to follow up and book the first visit. It's tempting to ask for more—like their fitness goals or if they're a member elsewhere—but save that for the follow-up call. You can dive deeper into campaign structure in our guide on how to create Facebook lead ads.
Remember, the goal of the form isn't to close the sale; it's to start the conversation. Keep it simple to maximize the number of people who raise their hands.
Finally, you have to add a link to your website's privacy policy. This is a non-negotiable from Meta and it’s good practice anyway. It builds trust by showing people you’re serious about protecting their data.
Once that’s done, you'll set up the thank you screen. This is where you confirm their submission and tell them what's next (e.g., "Thanks! A member of our team will call you shortly to activate your pass."). To really get the most out of your forms, it's smart to align your strategy with general lead generation best practices.
Automating Your Lead Flow with CRM Integration
Getting a new lead from your lead form on Facebook feels great, but that’s just the starting line. The real race—and where most businesses fall behind—is what happens in the minutes that follow.
If your process involves manually downloading CSV files a couple of times a day, you're already losing.
In sales, speed is the name of the game. A lead that’s a few hours old has already gone cold. To actually close deals, your team needs to be on the phone in minutes, not hours. This is why a hands-off, automated workflow isn't a luxury; it's a necessity.
The Problem with Manual Lead Management
Relying on manual downloads creates a massive gap between a prospect raising their hand and your team saying hello. Every minute of that delay is an open invitation for a competitor to swoop in or for the lead's initial excitement to completely fizzle out. It's a clunky, inefficient process that wastes ad spend and leaves your sales team frustrated.
You have to stop being reactive and build a system that acts instantly. The solution? Connect your Facebook forms directly to your Customer Relationship Management (CRM) platform to kill that delay.
The moment a user hits "submit" on your Facebook ad, their information should land directly in front of a salesperson. This is the gold standard for modern lead management, and it’s achievable with the right tools.
This instant data transfer is what turns a simple form submission from your lead form on Facebook into a piping-hot opportunity.
Connecting Your Form to a CRM
Don't worry, setting this up is much easier than it sounds, especially with platforms like LeadSavvy Pro. The goal is simple: create a seamless bridge between Facebook and your sales system. If you're still hunting for the right tool, it's crucial to find one that fits your needs. For some solid recommendations, check out these best CRM programs for small businesses.
The whole process boils down to telling the system where to put the data. You'll simply map the fields from your Facebook form to the corresponding fields in your CRM.
- Authorize Your Accounts: The first step is to grant permission. You'll connect your integration tool (like LeadSavvy Pro) to both your Facebook Page and your CRM account.
- Select Your Form and Destination: Next, you’ll pick the exact lead form you want to pull leads from and tell it which CRM to send them to.
- Map the Fields: This is where the magic happens, and it's the most important part. You'll match the "Full Name" field from Facebook to the "Name" field in your CRM, "Email" to "Email," "Phone Number" to "Phone," and so on. Make sure every piece of data has a home.
- Run a Test: Never, ever skip this step. Before you set your campaign live, fill out the form yourself. Watch to make sure your "test lead" pops up in your CRM instantly with all the correct information.
For a more detailed walkthrough, check out our guide on Facebook CRM integration. This instant sync gives your sales team the superpower of speed, massively boosting your odds of turning a fresh lead into a happy customer.
Focusing on High-Quality Leads Instead of Volume
Let's be honest. A flood of junk leads won't do a thing for your bottom line. Getting hundreds of submissions from your lead form on Facebook can feel like a big win, but it's a hollow victory if none of them ever become customers. The real goal isn't just to fill your pipeline; it's to fill it with people who are actually ready to buy.
This means making a strategic shift away from a "more is better" mindset. It's time to focus on quality above all else. You have to work smarter, not just harder, by using Facebook's more advanced tools to attract better prospects right from the start.

Introducing the 'Conversion Leads' Goal
To make this happen, you need to get familiar with a seriously powerful campaign setting: the 'Conversion leads' performance goal. This option is a game-changer. It goes way beyond just finding people who are likely to fill out a form and tells Facebook's algorithm to find people who look like your actual paying customers.
So, how does it work? It creates a smart feedback loop between Facebook and your sales data. You'll need an active CRM integration, like the one we've been talking about, to get this going. This connection lets your business systems "talk back" to Facebook, feeding it crucial performance data.
This feedback is the secret sauce for training the algorithm. You're no longer just collecting names and numbers; you're teaching the system what a truly valuable lead looks like for your business.
Training the Algorithm with Your Data
Imagine your sales team closes a deal with a lead that came from a Facebook ad. Through your CRM integration, that conversion event—a booked appointment, a signed contract, a finished purchase—gets sent right back to Meta. The algorithm then analyzes the characteristics of that converted user and learns from it.
Over time, this process constantly refines its targeting to find more people with similar attributes. You're basically building a profile of your ideal customer and asking Facebook to go out and find more of them.
- Initial Lead Capture: A user sees your ad and submits the lead form.
- CRM Update: The lead's status gets updated in your CRM (e.g., from 'New' to 'Qualified' or 'Customer').
- Data Feedback: That status change is sent back to Facebook as a conversion event.
- Algorithm Optimization: Facebook takes this data and uses it to sharpen its targeting for new users.
This cycle just keeps improving the quality of the leads you get over and over again.
A higher initial cost per lead (CPL) isn't always a bad thing. Think about it: paying a bit more for a prospect who is 80% more likely to convert is a much smarter investment than paying less for a dozen leads who will never even answer the phone.
The 'Conversion leads' goal is a must-use tool for any serious marketer. This entire approach is built on prioritizing quality over sheer volume by integrating CRM data to refine targeting. Each update on a lead's status—like a booked call or a completed sale—is fed back into Facebook's algorithm, teaching it what a high-quality lead actually is. If you want to dive deeper into this strategy, you can get more insights on Facebook lead generation best practices.
Understanding Your Budget and Cost Per Lead
Alright, let's talk about the money. Setting up a slick lead form on Facebook is one thing, but figuring out the budget is what keeps a campaign profitable instead of just being a cash bonfire. The million-dollar question is always, "How much should I spend?" And the honest-to-goodness answer is… it depends.
Your Cost Per Lead (CPL) is the main number you'll be obsessing over, and a few key things will push it up or down. Your industry, how dialed-in your audience targeting is, and the quality of your ad creative are the big three. A generic ad blasted to a huge, uninterested audience is always going to have a higher CPL than a killer offer shown to a very specific group of people who are already looking for what you sell.
Setting Realistic Budget Expectations
To avoid sticker shock, you have to start with some benchmarks. Facebook lead costs swing wildly from one industry to another. It's crucial to know what's "normal" for your niche before you even think about setting a daily budget.
For instance, a recent study of Meta Ads campaigns found that Legal services had the highest average CPL at a hefty $72.40, while the Nonprofit sector came in at a much more manageable $22.80.
Let's look at how a few other industries stack up.
Average Facebook Cost Per Lead by Industry
This table gives a quick look at CPL benchmarks across different sectors. Use this to help set some realistic expectations for your own campaigns.
| Industry | Average Cost Per Lead (CPL) |
|---|---|
| Legal | $72.40 |
| Finance & Insurance | $62.80 |
| B2B Services | $55.60 |
| Home Improvement | $48.50 |
| Health & Medical | $34.10 |
| Education | $28.90 |
| Nonprofit | $22.80 |
These numbers aren't set in stone, but they're a fantastic starting point. If you're running a B2B SaaS company, aiming for a $5 CPL right out of the gate is probably setting yourself up for disappointment. Knowing the ballpark figures helps you set a practical budget and judge your campaign's early performance fairly. You can see how different industries stack up in more detail to get an even clearer picture.
Interpreting Your Campaign Metrics
Once your ads are live and the data starts rolling in, you need to know how to read it. Your CPL is the headline, but it's not the whole story. You also have to factor in your lead-to-customer conversion rate.
A higher Cost Per Lead isn't automatically a bad thing. It's almost always better to pay $50 for a high-intent lead who actually becomes a customer than $15 for a low-quality lead who ghosts your follow-up email.
This is the strategic trade-off every smart marketer has to make. If you focus only on getting the cheapest CPL possible, you'll often end up with a list of duds. The real goal isn't the cheapest lead; it's the most profitable customer. By tracking leads all the way to a sale, you can figure out your true return on ad spend (ROAS) and know if your campaign is actually making you money.
For a deeper dive into the math, check out our complete guide on how to calculate cost per lead. It'll help you connect the dots between what you spend on ads and what ends up in your bank account.
Got Questions About Facebook Lead Forms?
Even the most seasoned marketers run into a few snags when working with a lead form on Facebook. It’s totally normal. Let's walk through some of the most common questions and sticking points so you can get back to generating high-quality leads without the headache.
First off, let's clear up some confusing jargon. You'll hear people use the terms "Lead Ads" and "Instant Forms" almost interchangeably, which can make you wonder if you're missing something. You're not. They are essentially the same thing. Instant Forms is just Meta's current name for those slick, mobile-friendly forms that auto-fill with a user's Facebook profile details.
The name change really just gets to the heart of what they do: give someone an "instant" and painless way to hand over their information.
Can I Post a Lead Form Without an Ad?
This question comes up all the time, and it's a big one. The short answer is a hard no.
A lead form on Facebook isn't a standalone asset you can pin to your page's timeline or share in an organic post. It only exists as part of a paid ad campaign using the "Leads" objective. The form itself only appears after someone clicks a call-to-action button on your ad, like "Learn More" or "Get Quote."
This is by design. The whole point is to pair the convenience of a pre-filled form with Meta's incredible ad targeting. The ad puts your offer in front of the right people, and the form makes it dead simple for them to respond.
Think of the ad as the engine and the form as the destination. One can't get you results without the other.
How Can I Get Better Leads?
Getting a ton of form submissions feels great, but if none of them are turning into actual customers, you’re just spinning your wheels. If you're sifting through a list of duds, don't worry—there are a few powerful adjustments you can make to your lead form on Facebook to crank up the quality.
Here are a few tried-and-true tactics that work:
- Turn on the "Higher Intent" Option. It’s just a simple toggle, but it adds a review screen before a user can submit. This one extra step forces people to pause and confirm their info is correct. It's a fantastic way to filter out accidental clicks and less serious inquiries.
- Ask One or Two Smart Questions. Yes, shorter forms usually convert better, but adding a strategic qualifying question can work wonders for quality. If you’re a B2B company, maybe you ask for "Company Size." A local service provider might ask, "What is your project timeline?" These fields act as a natural filter, ensuring you're talking to more qualified prospects.
- Use the 'Conversion leads' Goal. We’ve touched on this before, but it’s the single most powerful tool for improving lead quality. When you connect your CRM to Facebook, you can send data back to the algorithm, telling it which leads turned into customers. This literally trains Facebook's AI to find more people like your best customers.
Stop wasting time downloading CSV files and start talking to your hottest leads right away. LeadSavvy Pro sends new leads from Facebook directly to your CRM or Google Sheet the moment they arrive. Sign up for your free plan at leadsavvy.pro and see what a difference automation makes.