You can send Facebook Lead Ad submissions to Google Sheets automatically instead of repeatedly exporting CSV files from Meta. A dedicated connector such as LeadSavvy Pro watches your selected Instant Forms and adds each new submission to the Google Sheet you choose. That gives your team a current lead list, preserves form and campaign context, and makes faster follow-up possible.
This guide shows how to prepare the sheet, connect the form, map standard and custom fields, submit a test lead, and organise the results. It also explains when a focused Facebook lead connector is a better fit than a general automation platform.
If you are using Google Forms rather than Meta lead ads, follow our forms-to-Google-Sheets guide for Google's built-in response destination. If you want to turn the resulting list into a simple customer tracker, see our Google Sheets CRM layout.
Why automate your Facebook lead flow?
Manual CSV downloads can be workable for a very small campaign, but they depend on somebody remembering to check for new submissions. Automatic delivery puts each new lead in a shared place without that repeated export. The business benefit depends on whether a person then sees the lead and follows up, so pair the Sheet with a clear owner and notification process.
Speed and Accuracy: The Automation Edge
Automatic transfer removes the manual download and retyping steps. It also makes delivery more consistent, provided the Page permission, form selection, field mapping and Google connection remain valid. Submit a test lead before spending on ads, and recheck the connection after changing a form or destination Sheet.
Use the arrival time and first-contact time to measure your own response process. A new row alone does not contact the prospect.
Moving Past Manual Work and Into Real-Time Sync
Ever since Facebook rolled out Lead Ads back in 2015, marketers have been stuck in the cycle of manual downloads. Thankfully, a whole ecosystem of tools has popped up to fix this problem with simple integrations. These tools create a bridge that allows for near-instant synchronization between Facebook and Google Sheets.
This setup transforms your Google Sheet from a boring, static report into a live sales dashboard. To really understand how this fits into a bigger picture, it's worth exploring broader automated lead generation strategies.
To see just how big of a difference this makes, let's compare the old way with the new way.
Manual CSV Downloads vs Automated Integration
| Metric | Manual Process (CSV Download) | Automated Integration |
|---|---|---|
| Lead Delivery Speed | Hours or days (delayed) | Automatic after setup; verify actual delivery with a test lead |
| Data Accuracy | Prone to human error (copy/paste) | Consistent transfer without retyping |
| Team Workflow | Reactive, manual data checks | Proactive, focused on selling |
| Lead "Temperature" | Depends on how often the team checks for leads | Depends on notification and follow-up, not delivery alone |
| Time Spent | Recurring download and import time | Initial setup, monitoring and follow-up still required |
The benefit is a more consistent handoff. A connector removes a recurring CSV step, while a clear owner and follow-up process determine whether anyone acts on the lead.
Choose a focused connector or a general automation platform
A focused connector is usually the simpler choice when the job is to collect Facebook and Instagram Instant Form submissions, notify the team, and keep a Google Sheet or sales pipeline current. LeadSavvy Pro is built around that workflow and includes contacts and pipeline tools alongside Google Sheets delivery.
A general automation platform can make more sense when one submission must trigger several unrelated apps or a complex multi-step process. That flexibility can add setup work and usage-based limits, so compare the complete workflow rather than the number of integrations alone.
- Small business: prioritise clear setup, predictable pricing, and the lead destinations the team already uses.
- Agency: check how the tool separates clients, Pages, forms, permissions, notifications, and reporting.
- Complex operations: document every destination and failure path before choosing a broader automation platform.
Pre-integration checklist

Before you dive in and start connecting things, let’s talk prep work. I've learned from experience that just a few minutes of setup now can save you from some major headaches later. Think of this as your pre-flight check for a successful Facebook Lead Ads to Google Sheets integration.
First, check that the Meta account you connect has access to the relevant Page and lead form. Page access and lead permissions vary by business setup. If the form is missing from the connector, confirm those permissions before changing the spreadsheet.
Prepare Your Google Sheet
Next, let's get your Google Sheet ready to catch those leads. Don't just create a blank sheet—set it up for success from the get-go.
- Create clear column headers: Use a distinct column for each form field you need. For example, use First Name, Email, Phone and Submission Time, then verify the mapping in the connector.
- Give It a Smart Name: Name your spreadsheet something you'll recognize instantly, like "Q4 Campaign – Facebook Leads." This simple step is a lifesaver when you're managing multiple campaigns.
- Pre-format Your Columns: Keep your data clean by formatting columns for specific info. For instance, set the phone number column to "Plain Text" to keep any leading zeros. For dates, format the column as
MM/DD/YYYYso everything is uniform.
A well-organized Google Sheet is the bedrock of your entire automated workflow. Taking the time to structure it correctly means your lead data isn't just captured—it's organized and ready for your sales team to use immediately.
This prep work is a crucial part of building a system you can actually rely on. For a closer look at why this matters, check out our guide on how to automate lead generation and make your marketing a whole lot smarter.
With permissions and destination ready, connect the source and run a test before relying on live leads.
Alright, with your permissions squared away and your Google Sheet ready for action, it’s time to build the bridge between your platforms. This is where the magic of a Facebook Lead Ads Google Sheets integration happens, and with a tool like LeadSavvy Pro, it's surprisingly simple. The first thing you'll do is securely connect your accounts.
Connect the relevant Meta Page and lead form through the connector's authorization flow. Then authorize the Google account that can edit the destination spreadsheet. Review the permissions requested by each service and use an account your team can maintain.
Selecting Your Source And Destination
Once your accounts are authenticated, you get to play traffic controller. You'll tell the tool exactly where to pull the leads from and precisely where to send them.
This means you’ll pick the specific Facebook Page and the exact lead form you want to sync. Got multiple campaigns running for different offers? No problem. You can just set up a separate automation for each one.
Next, you'll select the Google Sheet you prepped earlier as the final destination. The tool will show you a list of your spreadsheets, making it easy to find the one you named something like "Q4 Campaign – Facebook Leads."
This visual shows exactly how your Google Sheet should look to seamlessly catch the lead data as it comes in.
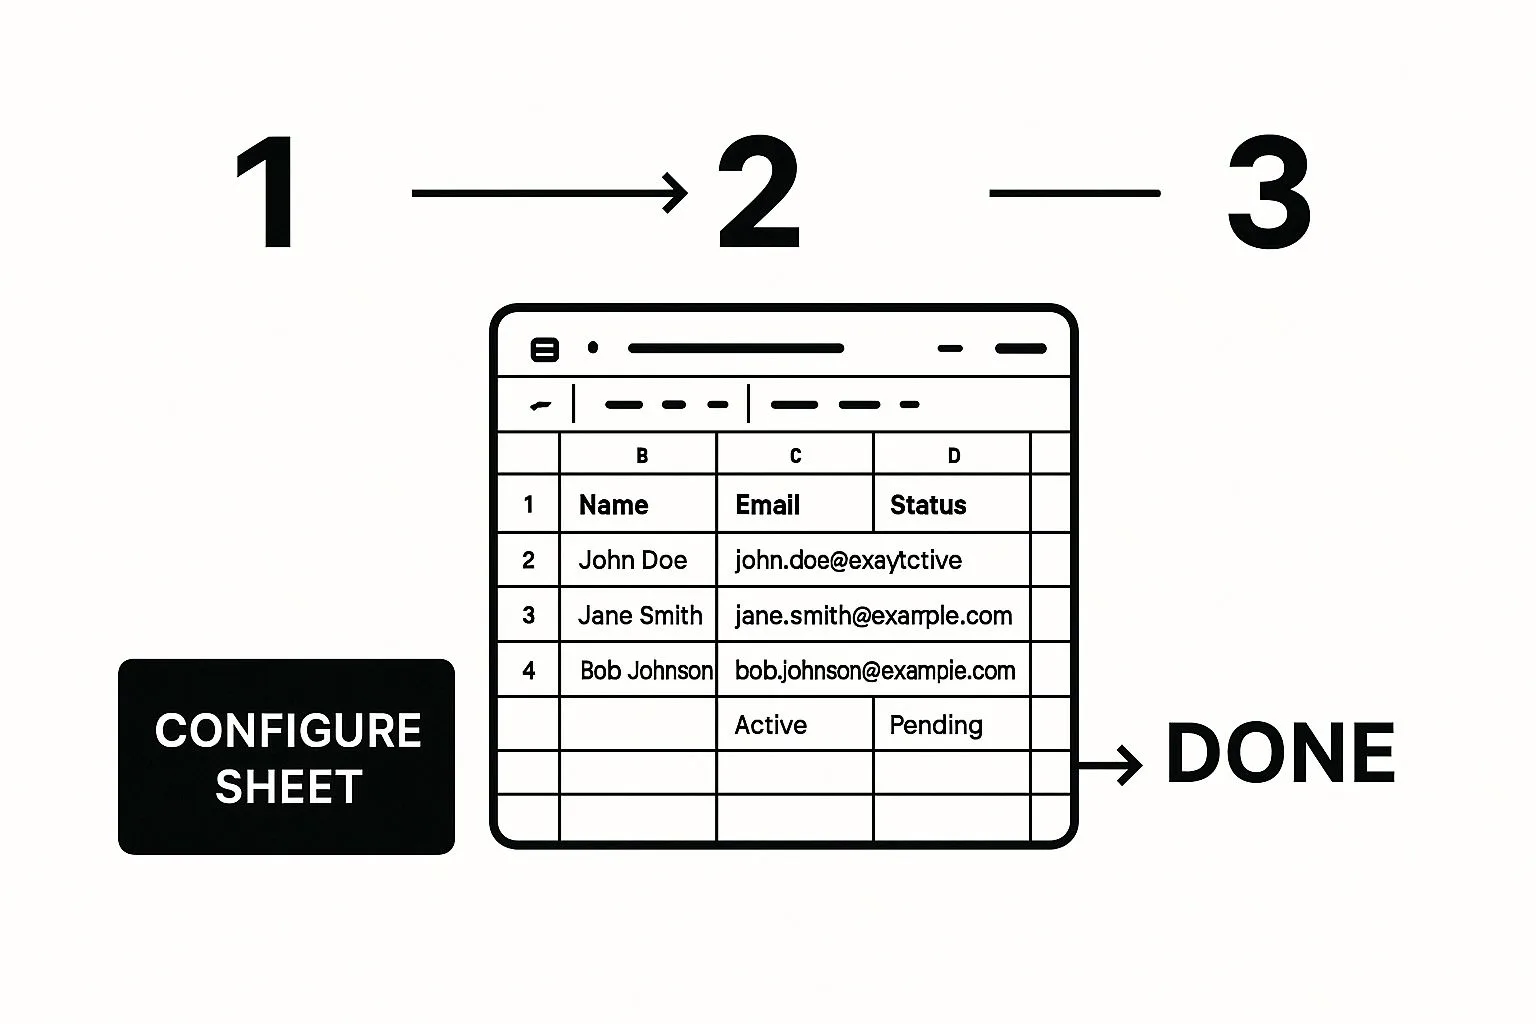
Clear columns make mapping and review easier; the test lead confirms the values reach the intended columns. For the broader process, see how to automate Facebook leads from capture through follow-up.
At its core, this step is just you telling the tool: "Hey, when a new lead comes from this specific Facebook form, I want you to immediately add it as a new row in this specific Google Sheet."
The interface in a tool like LeadSavvy Pro is built to feel intuitive, usually guiding you with simple dropdown menus so you can’t go wrong. You're just a few clicks away from having a fully automated lead workflow.
Map form fields to sheet columns

Once your accounts are connected, we get to the most important part of the whole setup: field mapping. This is where you tell LeadSavvy Pro exactly which data from your Facebook form should go into which column in your Google Sheet. Think of it like giving your data a precise set of GPS coordinates.
Getting this right is what makes a Facebook Lead Ads Google Sheets integration so incredibly effective. It ensures a lead's first name doesn't accidentally end up in the email column. You'll see a simple interface where you just match each form field to its corresponding spreadsheet header.
Matching Standard and Custom Fields
The basics are easy—you’ll map "First Name" from Facebook to your "First Name" column in Google Sheets, "Email" to "Email," and so on. But the real magic happens when you start mapping your custom questions.
Let's say you run a gym and your lead form asks, "What's your primary fitness goal?" You can map this custom question directly to a "Fitness Goal" column in your sheet. Boom. Your new leads are instantly segmented, which means your sales team can tailor their follow-up call immediately. They can open the conversation talking about weight loss or muscle gain, not just a generic pitch.
The goal of field mapping isn't just to move data; it's to transfer intelligence. By including campaign-specific details, every new lead arrives with the context your sales team needs to have a more relevant and effective conversation.
This simple step transforms your spreadsheet from a static list into a dynamic sales tool.
Including Hidden Campaign Data
Here’s a pro-level tip that adds a ton of context to every single lead: you can automatically capture valuable metadata that users don't even see.
- Campaign Name: Map this to see which specific ad campaign generated the lead.
- Ad Set Name: Pinpoint the exact audience that’s performing best.
- Ad Name: Identify the ad creative that drove the conversion.
- Submission Date: Automatically timestamp every new entry for better tracking.
Check which metadata fields your selected connector and form actually expose before promising them to your team. If campaign details are available, map them to their own columns and confirm they arrive in a test row.
Alright, you’ve done the heavy lifting. The connection is built, your fields are perfectly mapped—now it’s time for the fun part: flipping the switch and watching it work.
Activating your new workflow in a tool like LeadSavvy Pro is usually a one-click affair. But hold on. Before you pop the champagne and launch your ad campaign, you absolutely must make sure every part of your automated system is firing on all cylinders.
This is where a little-known hero comes into play: Facebook’s own Lead Ads Testing Tool.
Run a test lead before launch
Use Meta's Lead Ads Testing Tool to create a sample submission for the selected form before relying on live traffic. Confirm that the connector receives it and sends the expected fields to the sheet.
Go ahead and submit a test lead. Play the part of a potential customer. I always recommend using obviously fake info, like "Testy McTesterson" or an email like "test123@test.com," so you can easily spot it in your Google Sheet.
Once you hit submit, switch over to your spreadsheet.
Check the destination sheet for the new row. Delivery time depends on the source and connector, so use the test to establish your actual timing. If the row is missing, review form access, the selected destination, field mapping and any connection errors.
A successful test confirms this form and destination worked at that moment. Repeat it after changing permissions, questions or sheet columns, and monitor the first live submissions for errors.
Now, before you move on, quickly scan the new row in your sheet:
- Are the columns right? Is the first name actually in the "First Name" column? Is the email formatted correctly?
- Did the metadata pull through? Check those hidden fields. Did the "Campaign Name" and "Ad Set Name" show up like you wanted?
- What about custom questions? Is the answer to your unique question sitting in the right spot?
This final check ensures your lead data isn't just arriving, but that it's clean, organized, and ready for your sales team to act on immediately.
For more workflow ideas, see how to automate Facebook lead capture and delivery.
Organise and act on the leads after they arrive
The first successful test row proves the connection works. The next step is to make the sheet useful for daily follow-up.
Use one master view when several forms feed the same team
If several campaigns share the same follow-up process, send them to a consistent master sheet and include columns for Page, form, campaign, ad set, ad, and submission time. Teams that need strict separation can use individual worksheets or files, provided every destination uses the same field rules.
Add notifications and ownership
A new row alone does not tell a salesperson to act. Pair delivery with an email notification and a clear owner or status field. LeadSavvy Pro can notify the team as leads arrive, while the sheet provides a shared record for filtering and reporting.
If the person responding is away from their desk, the LeadSavvy Pro iPhone app can put the new contact and follow-up actions in their hand. The sheet remains useful for shared reporting; the app and pipeline help the owner act on the lead.
Clean and qualify data without overwriting the source
Keep the original submitted values, then use separate columns for cleaned phone numbers, qualification labels, owner, and follow-up status. Simple formulas and data validation can make reporting more consistent while preserving what the prospect entered.
Got your new Facebook Lead Ads to Google Sheets integration set up? Awesome. But even with a slick automation running, it’s totally normal to have a few questions pop up about how it all works in the real world.
Let's dive into some of the most common things marketers ask. Getting these answers down will help you manage your new lead flow like a pro.
How Quickly Will My New Leads Actually Show Up in Google Sheets?
This is probably the number one question, and for good reason—speed is the whole point!
Automated delivery removes the manual CSV export. The actual arrival time varies by platform and connection state. Record the submission time and the time the row appears during your test, then decide whether the workflow meets your team's response target.
That tiny delay is just the time it takes for Facebook’s system to register the lead and for the tool to pick it up. It’s a world away from the hours (or even days) you might spend manually downloading CSV files. Your sales team gets to jump on a lead while it's still piping hot.
Can I Send Leads from Multiple Facebook Forms to the Same Google Sheet?
Yes, you absolutely can. This is a huge win for anyone running different campaigns or offers at the same time. You’ve got a couple of great ways to organize everything:
- Create a "Master List": Funnel all your leads from every form into one main worksheet. This gives you a fantastic bird's-eye view of all your prospects in one place.
- Use separate destinations where supported: If your connector offers routing by form, use separate worksheets or spreadsheet files for teams with distinct processes. Confirm each destination with its own test lead.
This flexibility means you can set up your data exactly how your team works best, without juggling a dozen different files.
The goal of any good integration is to make your life simpler, not more complicated. Being able to route leads from different ads into one organized sheet is a perfect example of that.
What Happens If I Change My Facebook Form or My Google Sheet?
This is a super important point, so pay close attention. If you make changes, your automation needs to know about them.
If you edit your Facebook lead form—say, you add a new question or get rid of one—you must go back into your automation tool and update the field mapping. The system isn't a mind reader; it won't automatically know where to put that new piece of information.
The same goes for your Google Sheet. If you rename or delete a column that your automation is sending data to, the connection will break.
Best practice: Review the mapping before changing a form or sheet column, then run a new test lead afterward. If your connector supports pausing, use that control during a disruptive change; otherwise plan the change for a low-volume period and check the next live submission.
Stop chasing CSV files and start working with leads as they arrive. Compare LeadSavvy Pro plans or start the seven-day trial.