Your Guide to Facebook Lead Ads Setup
If you've ever run a digital ad campaign, you know the biggest hurdle is getting someone to leave what they're doing and visit your landing page. That's where Facebook Lead Ads completely change the game.
They work by letting users submit their information through a form that pops up right inside Facebook or Instagram. No clunky external websites. No waiting for a page to load. Just a simple, pre-filled form that makes lead collection almost effortless. It's a massive reason why they're so good at boosting conversions.
Why Lead Ads Are a Game-Changer for Growth

Before we jump into the nitty-gritty of setting them up, you need to understand why this ad format is so powerful. Unlike a traditional ad that punts users over to a separate landing page, Lead Ads keep the entire experience right there in the app. This seamless journey is the secret to their success.
Think about it from a user's perspective. You're a local real estate agent, and a potential homebuyer is scrolling through their feed. They spot your ad offering a free neighborhood market report. Instead of being sent off-platform to a website that might load slowly on their phone, a form appears instantly. Better yet, it's already filled with their name and email pulled directly from their Facebook profile.
One more tap, and they're done. You have a new lead.
The Power of a Frictionless Experience
This immediate, in-app process is huge. It slashes the drop-off rate you typically see when users have to leave the platform. It meets people where they already are and offers instant gratification, making it incredibly easy for them to raise their hand and say, "I'm interested." To get the most out of this, it helps to understand general lead generation best practices.
This convenience pays off in a big way, leading to better ad performance and higher-quality leads. Here’s why:
- Mobile-First Design: Let's be honest, most of your audience is on their phone. Lead Ads are built for mobile, saving users from the headache of pinching and zooming on a clunky, non-responsive site.
- Pre-filled Information: By auto-populating fields like name and email, you do the heavy lifting for them. This small detail is a massive win for conversion rates.
- Increased Trust: Keeping someone inside the familiar Facebook environment often makes them feel more secure about sharing their contact details.
The core benefit is simple: by removing barriers, you make it easier for people to say "yes" to your offer. This small change in user experience can lead to a significant increase in your lead volume without changing your ad creative or offer.
The data absolutely backs this up. The average conversion rate for Facebook lead ad campaigns is a solid 8.78%, but some industries see even better results.
Facebook Lead Ad Performance by Industry
Here's a quick look at average conversion rates for Facebook Lead Ads across various sectors. You'll notice that service-based industries tend to do exceptionally well.
| Industry | Average Conversion Rate (%) |
|---|---|
| Dentists | 9.83% |
| Real Estate | 9.70% |
| Education | 9.25% |
| Fitness | 9.11% |
| B2B | 8.65% |
| Retail | 7.05% |
Source: WordStream
As you can see, sectors like Real Estate (9.70%) and Dentists (9.83%) absolutely crush it with this format. It’s a clear demonstration of just how effective Lead Ads are at capturing high-intent users at the exact moment they're interested.
Laying the Groundwork for a Winning Campaign
A successful Facebook lead ad campaign doesn't start in Ads Manager. The real work—the stuff that prevents headaches and gets you actual results—happens before you even think about hitting "publish." Think of it as your pre-flight checklist.
The absolute heart of your campaign is the offer. What are you giving someone that's valuable enough for them to hand over their name and email? A generic "contact us" is a surefire way to get ignored. You need a hook, something your ideal customer genuinely wants.
Crafting an Offer They Can't Refuse
Your offer is everything. It has to be good enough to make someone stop their endless scroll and take action. This isn't the time to be vague. Get specific about what your audience is struggling with.
- Running a service business? Offer a free, no-strings-attached quote or a quick 15-minute strategy call.
- A B2B company? An exclusive industry report or a detailed case study download works wonders.
- Managing a local gym? Go with a free 7-day pass or a complimentary personal training session.
The goal is simple: solve an immediate problem or satisfy a burning curiosity. Your offer must be tangible and laser-focused on the people you're trying to reach. If you want to dig deeper into what makes a form irresistible, check out our guide on the essentials of a Facebook lead generation form.
With a solid offer in hand, you can move on to the fun part: designing the ad creative and writing the copy. Your visual—whether it's an image or a short video—has to be a "thumb-stopper." It needs to be bright, clear, and attention-grabbing. Your copy should speak directly to your customer's pain points and spell out exactly what they'll get.
A killer ad shows the value visually and uses copy that answers the user's silent question: "What's in it for me?" Stop listing features. Start selling the outcome.
Getting Your Technical and Legal Ducks in a Row
Before you go live, you need a few technical things sorted. The big one is a privacy policy URL. Facebook absolutely requires this for lead ads, and it's a super common reason for ads to get rejected. Your policy has to explain clearly how you'll use and protect people's data. Get this link ready before you start building the ad.
You also need to make sure your Facebook Page is set up correctly. This means you have the right advertising permissions and have accepted Facebook's Lead Ad Terms of Service. You'll usually get a prompt for this the first time you create a lead ad for a particular Page.
These little details matter more than you think. Facebook’s platform is massive, with around 3.1 billion monthly active users. Even a small budget can make a huge impact. For example, spending just $5 per day can reach nearly 787 new people in the retail space alone. That's some serious lead-gen power.
Of course, getting the ad live is just the beginning. To truly succeed, you need to master effective Facebook ad tracking strategies to understand what's working and what's not.
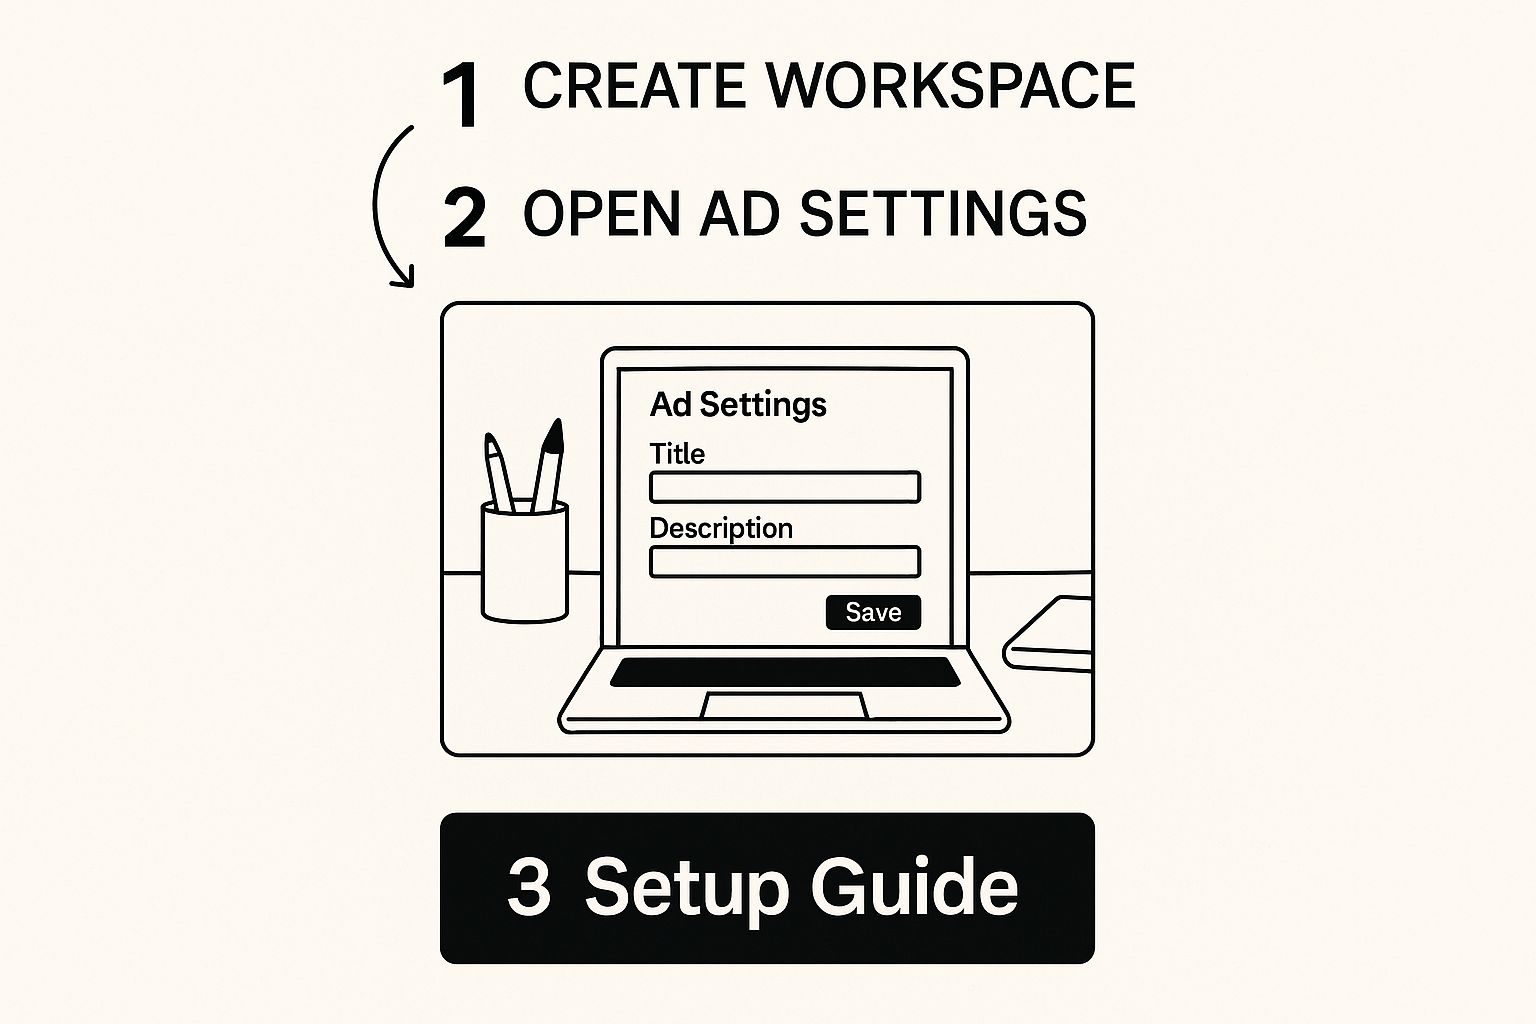
Alright, you've done the prep work. Now it's time to dive into Facebook Ads Manager and actually build this thing. This is where your strategy, your killer offer, and your eye-catching creative all come together.
To make this super practical, let's stick with our example. Imagine you're a local gym offering a free 7-day pass. You’ve got a slick video of your members crushing their workouts. Let’s build that campaign.
The very first thing you'll do inside Ads Manager is hit that big green + Create button. This is your starting line.
You’ll see a bunch of objectives, but for what we're doing, you need to choose Leads. This tells the Facebook algorithm exactly what you want: contact info from people who are raising their hands to say they're interested. Select Leads, click "Continue," and you're on your way.
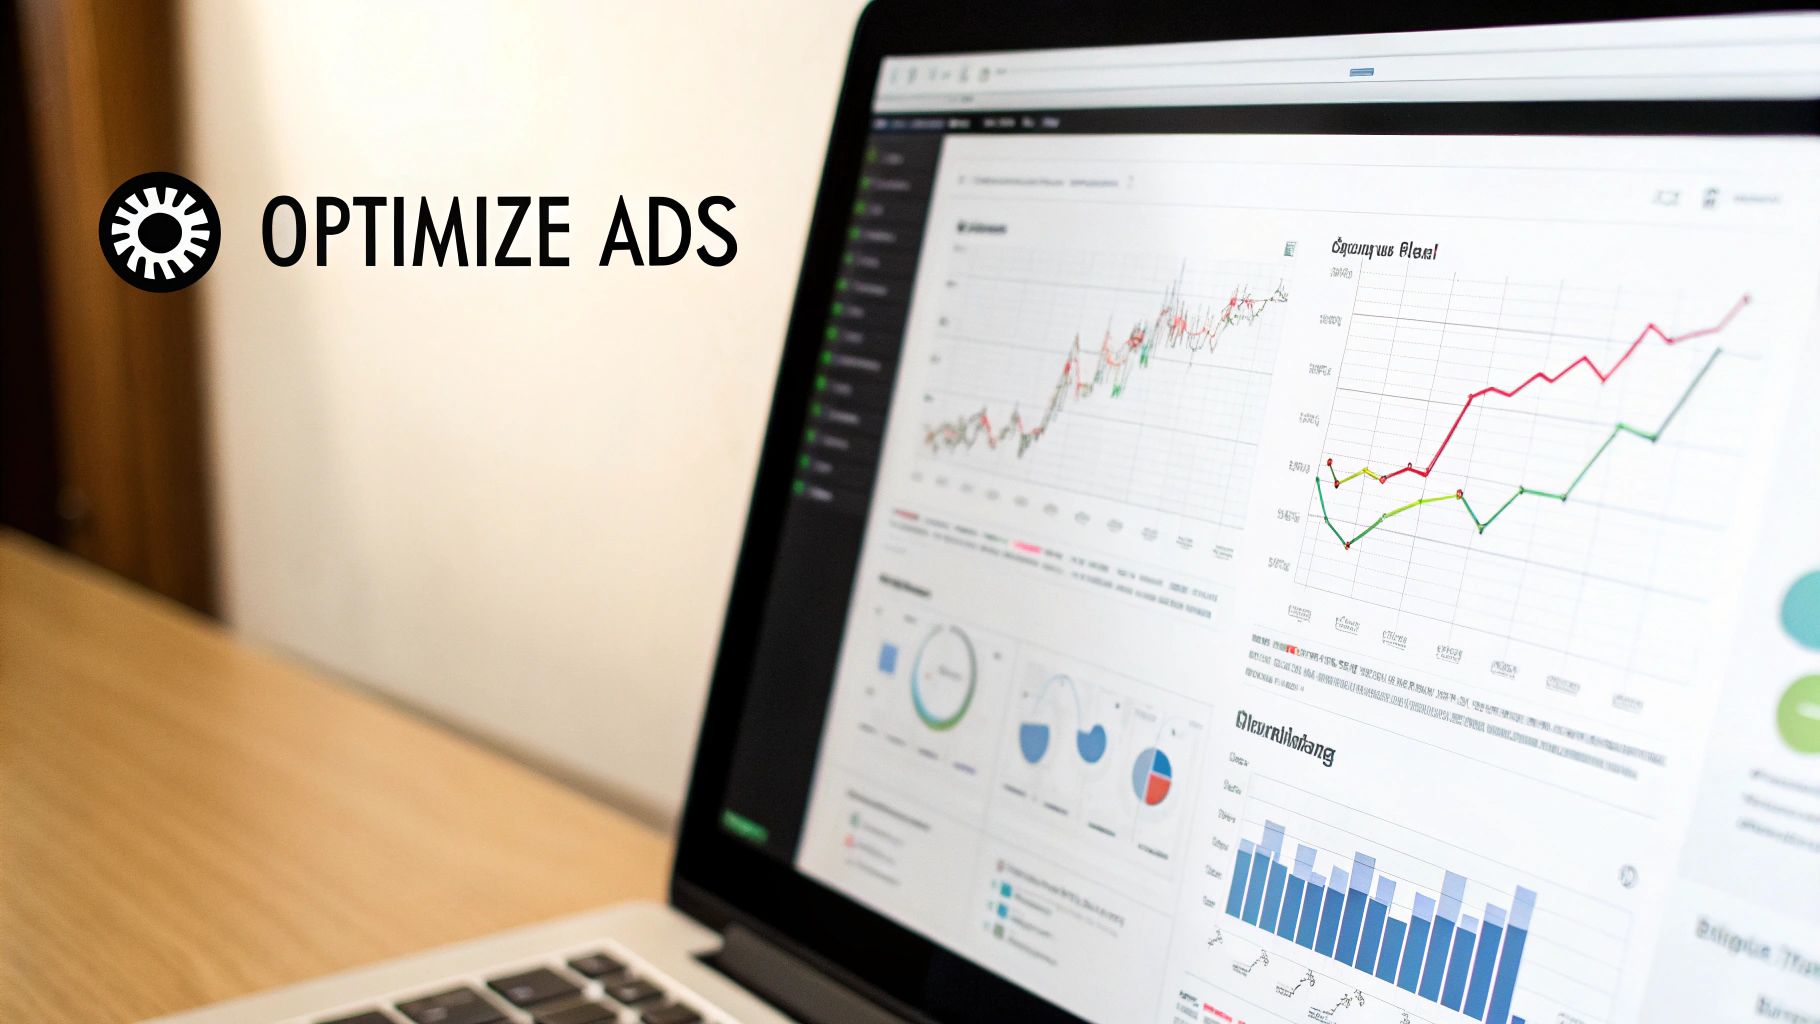
This visual gives you a nice high-level look at the process we're walking through right now.
Seeing the flow from Campaign to Ad Set to Ad really helps understand how each piece stacks on top of the next.
Configuring Your Ad Set for Precision
Once you've named your campaign, you get dropped into the Ad Set level. Honestly, this is where the real targeting magic happens for your Facebook lead ads. It's here that you decide who sees your ad, where they see it, and how much you're going to spend.
First up, find the "Conversion location" section and pick Instant Forms. This is a huge deal. It means people can fill out your form without ever leaving Facebook or Instagram, which drastically cuts down on friction and boosts your conversion rate. You’ll also need to select your Facebook Page and accept the terms of service if it’s your first time.
Next, let's talk budget. For a local business like our gym, a great starting point is $10 to $20 per day. That's plenty to get the ball rolling and gather some initial data without breaking the bank. You can set a daily budget or a lifetime budget with an end date, which is perfect for limited-time offers.
Pro Tip: When you're just starting out, trust Facebook's Automatic Placements. The algorithm is shockingly good at figuring out the cheapest and most effective spots to show your ads across its entire network—Instagram, Messenger, you name it. You can always go back and tweak this later once you have some performance data to look at.
Defining Your Audience and Crafting the Ad
Okay, now for the fun part: telling Facebook exactly who to show our gym's 7-day pass offer to. In the "Audience" section, you can get incredibly specific.
- Location: We’d target people living within a 10-mile radius of the gym. No point showing ads to people who live too far away to drive in.
- Age: Let's go with 25-55. This demographic typically has the disposable income for a gym membership.
- Interests: This is where it gets powerful. We can target people who've shown interest in things like "Fitness and wellness," "Weight training," "Yoga," or even the names of competing gym chains in the area.
With your audience locked in, you’ll move to the final Ad level. This is where you upload your creative—that awesome video we talked about—and write your ad copy.
For the primary text, you could write something that hits a pain point: "Tired of your boring workout routine? Grab a FREE 7-day pass to City Gym and discover our state-of-the-art equipment and motivating group classes!"
Finally, pick a crystal-clear Call to Action button. For a free pass, "Sign Up" or "Get Offer" work perfectly. They're direct and tell the user exactly what to do. The last piece is designing the Instant Form itself, which we'll cover next, and then you're ready to launch.
Designing a High-Converting Instant Form
Your ad creative did its job—you got the click. Now, the Instant Form has to close the deal. This is where so many otherwise great campaigns fall flat. A clunky or confusing form will kill your conversion rates, no matter how good the ad was.
Think of it as the final handshake. It needs to be firm, clear, and reassuring.
The first thing you’ll decide is the Form Type. Facebook gives you two options, and choosing the right one depends entirely on your campaign goal.
- More Volume: This is the default choice for a reason. It's built for speed, making it as easy as possible for someone to submit their info. It's the perfect fit for low-commitment offers, like a newsletter sign-up or a simple e-book download, where your primary goal is just getting as many leads as possible.
- Higher Intent: This option is your best friend if you're drowning in low-quality leads. It adds a final review screen before submission, forcing the user to pause and confirm their details. This simple step acts as a powerful filter, weeding out accidental clicks and people who aren't genuinely interested.
For instance, if you're a marketing agency offering a free PDF guide, "More Volume" is your go-to for building that email list fast. But if you’re a financial advisor offering a free consultation, "Higher Intent" is a must to make sure you’re only spending time on prospects who are serious.
Crafting the Core Form Elements
Okay, you've picked your form type. Now it's time to actually build the thing. Every single piece of your form, from the intro copy to the thank you screen, plays a part.
First up is your Intro section. This is your quick, 10-second pitch to remind people why they clicked in the first place. Don't assume they remember the ad copy. A punchy headline and a short sentence or two reinforcing the value is all you need.
Next, you'll tackle the Questions. This is where Facebook Lead Ads really shine, since they can pre-fill standard info like name and email automatically. Huge win for conversion rates. But be careful—resist the urge to ask for everything but the kitchen sink.
Key Takeaway: Every extra field you add introduces friction and gives someone another reason to bail. Only ask for information that is absolutely essential to qualify or contact the lead. If you don't need their phone number for the very first follow-up, don't ask for it here.
That said, you can get creative with custom questions. A simple multiple-choice question like, "What is your biggest business challenge?" can give your sales team incredible context without feeling too intrusive. If you want more ideas on building a form that converts, check out these lead capture form best practices.
Finalizing Your Form and Next Steps
Before you can hit save, you have to include a link to your website's Privacy Policy. This is a non-negotiable from Meta, and a common reason for ad disapproval is a missing or broken link. Double-check that it works!
Finally, don't waste the Thank You screen. This is prime real estate! Instead of just a generic "Thanks," give your new lead a clear next step to take while their interest is at its peak.
- View Website: Send them to a relevant blog post or your services page.
- Download: Give them the direct link to the guide or checklist they signed up for.
- Call Business: If you're a local service, this makes it dead simple for hot leads to connect right away.
By designing a thoughtful thank you screen, you turn a simple lead into someone who is already engaging more deeply with your brand. That's how you get a warm lead, not just another name on a list.
Automating Your Lead Flow with LeadSavvy Pro
Getting your Instant Form perfected is a huge win, but honestly, that's only half the battle. If your brand-new leads are just sitting in a CSV file waiting for you to download them, their value plummets with every hour that goes by.
Speed-to-lead isn't just some marketing buzzword; it’s the absolute key to turning a prospect’s fleeting interest into actual revenue. This is where automation completely changes the game.
Trying to manage leads manually is a recipe for missed opportunities and headaches. Imagine you're a real estate agent running a hot ad campaign over a busy weekend. You shouldn't have to pause your open house just to download a spreadsheet. This is exactly the problem LeadSavvy Pro was built to solve—acting as the essential bridge between Facebook and your sales process.
By connecting your Facebook Lead Ads directly to LeadSavvy Pro, you can forget about manual downloads for good. Every single new lead is instantly and automatically sent where it needs to go, triggering the next step in your sales follow-up without a moment's delay.
Connecting Your Account and Mapping Fields
Getting this set up is refreshingly straightforward.
Inside your LeadSavvy Pro dashboard, you’ll connect your Facebook account with just a few clicks. After you grant the necessary permissions for your Page and lead forms, the platform will automatically find your active Instant Forms.
The next step is what we call "mapping." This is where you tell LeadSavvy Pro exactly where to put each piece of information from your form. It’s simple but powerful.
- Standard Fields: You'll match the
emailfield from your Facebook form to the email field in your LeadSavvy Pro CRM. You do the same thing forfull_name,phone_number, and so on. - Custom Questions: Let's say you asked, "What is your biggest marketing challenge?" You can map that specific answer to a "Notes" or another custom field, giving your sales team immediate context for their first conversation.
This direct mapping is critical. Facebook's advertising ecosystem is a global powerhouse; ad spending in North America alone recently hit an incredible $79.3 billion, with cross-border campaigns making up nearly 19% of that total. With so much money flowing through the platform, making sure every single lead is handled efficiently isn't just a good idea—it's non-negotiable.
The moment a lead is captured, your system should take over. Automating the flow from Facebook to your CRM means you can instantly trigger a welcome email, add the contact to a nurture sequence, or send an SMS alert to a sales rep.
This immediate action is what separates successful campaigns from the ones that fizzle out. Once you're generating leads, the next crucial move is engaging them effectively. This is where you should be looking into mastering lead nurturing automation. This seamless integration ensures no lead ever falls through the cracks.
For a deeper dive, learn more about the benefits of a Facebook Lead Ads CRM connection.
Got Questions About Facebook Lead Ads?
Running Facebook Lead Ads is an art and a science. Even with a perfect setup, you're bound to run into a few questions or roadblocks along the way. Let's tackle some of the most common issues advertisers hit, so you can keep your campaigns running like a well-oiled machine.
What’s a Good Cost Per Lead (CPL)?
This is probably the number one question I get, and the honest answer is: it depends. There's no magic number that works for everyone.
Your CPL will swing wildly based on your industry, who you're targeting, and how valuable your offer is. A B2B software company might be thrilled to pay $75 for a high-quality lead, while a local gym might aim for under $15.
The real question you should be asking is, "What CPL is profitable for my business?" A good CPL is one that keeps you in the black after accounting for your customer lifetime value. My advice? Start with a small test budget, watch your numbers like a hawk, and optimize from there.
How Can I Get Better Quality Leads?
Getting a flood of leads that go nowhere is frustrating. If your leads aren't converting, it's time to shift your focus from quantity to quality.
The single most effective trick is to edit your Instant Form and switch the form type from "More Volume" to "Higher Intent." This simple change adds a review screen before the final submission. It’s a brilliant way to filter out accidental clicks and tire-kickers who aren't serious.
Another great move is adding custom qualifying questions. Don't just settle for a name and email. Ask a multiple-choice question about their budget, timeline, or biggest challenge. This tiny bit of friction is often enough to deter people who aren't a good fit.
If your ad for high-end kitchen remodels keeps getting leads who were just curious about new cabinet handles, your message wasn't specific enough. Tighter, more targeted ad copy pre-qualifies your audience before they even click.
My Facebook Lead Ad Was Disapproved. Now What?
First off, don't panic. This happens to everyone.
Head over to your Ads Manager and find the ad. Facebook will almost always tell you the specific reason for the disapproval. Common culprits include:
- Making exaggerated claims in your ad copy ("Guaranteed results overnight!").
- Using a broken or non-compliant privacy policy link.
- Featuring prohibited imagery.
Once you know the problem, fix it. If it was the privacy policy, double-check that the link works and points to a real policy page. After you've made the necessary edits, you can request another review right from the ad level. Most of the time, minor issues are resolved quickly after a simple fix and resubmission.
Ready to stop manually downloading CSV files and start converting leads the moment they arrive? LeadSavvy Pro automates your entire lead flow, sending fresh leads from Facebook directly to your email or CRM in real-time.
Sign up for a free plan today at https://leadsavvy.pro and see what a difference speed can make.