Master Facebook Ads Conversion Tracking
If you're spending money on Facebook Ads but can't tell what's actually working, you're not just guessing—you're lighting your budget on fire. Solid facebook ads conversion tracking is the only thing that connects your ad spend to real business results, moving you past fluff metrics like likes and shares. It's how you measure what actually makes you money.
Why Your Ad Results Are Missing the Mark
Pouring cash into a Facebook campaign without proper conversion tracking is like driving at night with the headlights off. Sure, you're moving, but you have no clue if you're heading toward your destination or straight off a cliff.
So many businesses fall into this trap. They get excited about high click-through rates and big reach numbers, but their bottom line never budges. The problem is a total disconnect between what's happening in the ad account and what's happening in the bank account.
This guide is here to fix that. We're going to zero in on the actions that truly matter: sales, sign-ups, and qualified leads. You'll learn how to stop guessing and start making sharp, data-driven decisions that deliver a real return on your investment.
The Two Pillars of Modern Tracking
To build a tracking system that you can actually rely on, you need two tools working together. Think of them as the dynamic duo of data collection.
-
The Meta Pixel: This is your browser-side workhorse. It’s a little piece of code that lives on your website, watching what users do—like viewing a page, adding an item to their cart, or making a purchase. It's the frontline of your tracking setup.
-
The Conversions API (CAPI): This is your server-side backup. It sends data straight from your server to Facebook's, giving you a much more stable and reliable connection. This is how you get around things like ad blockers and browser privacy updates that mess with the Pixel.
The bottom line is this: using both the Pixel and CAPI together creates a comprehensive tracking net. It helps you capture data that would otherwise get lost. This dual approach isn't just a "nice-to-have" anymore; it's the standard for accurate measurement today.
Sometimes, a campaign's poor performance isn't just about tracking—it's about choosing the right channel in the first place. For a deeper look at that strategic choice, the classic PPC vs. SEO debate offers great perspective. Understanding this helps clarify why getting your measurement right on a powerful channel like Facebook is so critical.
By mastering facebook ads conversion tracking, you ensure every dollar you put into paid social is working as hard as possible. You get clarity, confidence, and control. This guide is your roadmap to getting there.
Building Your Foundation with the Meta Pixel

Before you can even think about tracking conversions, you need a solid foundation. In the world of Facebook ads conversion tracking, that foundation is the Meta Pixel.
Think of the Pixel as a tiny scout that lives on your website. It’s a small piece of JavaScript code that watches what your visitors do—like viewing a product, adding an item to their cart, or making a purchase—and reports that intel back to Facebook Ads Manager.
Without it, you’re flying blind. You have no real way of knowing which ads are driving results and which ones are just burning through your budget. Getting this set up is your first, most critical step toward data-driven advertising.
Getting Started in Events Manager
Your journey starts inside Facebook's Events Manager. This is your command center for creating and managing all your data sources, including the Pixel. Creating a new one is pretty straightforward; Facebook will walk you through naming it and connecting it to your ad account.
Once your Pixel is created, you’ll see three main installation options. The right choice really comes down to your technical comfort level and what platform your website is built on.
- Manual Installation: This is for the hands-on folks. You copy the Pixel’s code and paste it directly into the
<head>section of your website’s HTML. It gives you total control but requires you to be comfortable editing your site's code. - Partner Integration: If you're using platforms like Shopify, WordPress, or Squarespace, this is your easy button. These integrations are designed to make installation a simple, one-click process.
- Google Tag Manager: For anyone who wants more advanced control without constantly digging into code, Google Tag Manager (GTM) is the way to go. It acts as a container for all your tracking scripts, keeping things organized.
A critical pro tip I can't stress enough: Always, always place the Pixel code just before the closing
</head>tag on every single page of your website. I’ve seen countless tracking nightmares that stemmed from putting it in the footer or only on the homepage. Correct placement is non-negotiable for accurate data.
Choosing Your Installation Method
Deciding how to install the Pixel is a key part of the process. If you’re running an e-commerce store on a platform like Shopify, the partner integration is almost always your best bet. It’s built to automatically track crucial events like AddToCart and Purchase with very little effort on your part.
This screenshot from Meta's help docs shows you exactly where to find the options to install the code manually or use a partner integration inside the Events Manager setup.
The interface clearly lays out the hands-on approach versus the guided, platform-specific integrations, making it easy to pick the right path for your skillset.
Now, if you have a custom-built site or you're managing a bunch of different tracking tags, Google Tag Manager is a lifesaver. It simplifies adding not just the Pixel, but other scripts too, keeping your website's code much cleaner and more manageable in the long run.
The Role of Cost in Conversion Tracking
Getting your Pixel set up correctly has a direct impact on your campaign's cost-effectiveness. A well-implemented Pixel feeds Facebook's algorithm high-quality data, which helps it get smarter about finding users who are actually likely to convert.
This efficiency shows up in your metrics. Think about Cost Per Click (CPC), which globally averages between $1.05 and $1.72. A lower CPC, paired with a strong conversion rate—which can hit an impressive 10.2% in sectors like retail—drives a much higher ROI. These efficient cost structures are a big reason Facebook’s ad revenue is projected to hit $156.8 billion.
Ultimately, effective Facebook ads conversion tracking isn't just about counting sales. It’s about making every ad dollar work harder. A correct Pixel setup is the first step to a lower cost per acquisition and better profitability.
For a deeper dive, check out our guide on tracking ads on Facebook with precision. It offers more tips to make sure your setup is flawless from the get-go.
Tracking Actions That Actually Matter

Alright, you’ve got the Meta Pixel installed. Your website is now officially talking to Facebook, which is a great first step. But right now, it's just basic chatter—like page views. To really make Facebook ads conversion tracking work for you, you have to tell the Pixel what conversations really matter.
We need to track the specific actions that signal someone is serious about buying. These are the clicks and interactions that actually grow your business. Facebook calls these "events," and they're the key to unlocking your campaign's potential.
Standard Events: The Building Blocks of Tracking
Facebook gives us a helpful list of pre-built Standard Events that cover the most common actions you'd want to track. Think of them as a universal language that Facebook's algorithm understands perfectly.
If you’re running an e-commerce store, the critical events are pretty straightforward:
- ViewContent: Someone checks out a specific product page.
- AddToCart: They liked it enough to add it to their cart.
- InitiateCheckout: They’ve started the payment process.
- Purchase: The finish line—they completed the sale.
By setting these up, you’re doing more than just counting clicks; you're mapping out the entire customer journey. This data is gold for the algorithm, as it helps Facebook find more people who are likely to follow those exact same steps.
Using the Codeless Event Setup Tool
Don't have a developer on speed dial? No problem. Facebook’s Event Setup Tool is a surprisingly useful feature that lets you set up these standard events without touching a single line of code.
You just pop your website’s URL into the tool, and it opens your site in an interactive window. From there, you can literally click on buttons and links on your own site and tell Facebook what they mean.
For example, you can click the "Add to Cart" button on your product pages and assign it the AddToCart event. Now, every time a user clicks that button, the Pixel fires off that signal to your Ads Manager. It’s a visual, point-and-click way to get solid tracking in place fast.
The Event Setup Tool is fantastic for straightforward websites. But if you have a more complex user flow or need to track actions that aren't tied to a button click (like a video view), you’ll eventually need to dig into more advanced methods.
This focus on tracking meaningful user actions is why the platform's optimization keeps getting better. Recent AI improvements have helped bump up average conversion rates from 8.2% to 9.0%. Smarter algorithms use this event data to get much better at predicting who will buy, which is a big reason so many advertisers see a return of over a 3:1 ratio on their ad spend. You can dive deeper into these performance benchmarks to see what’s possible with a well-tracked campaign.
When to Use Custom Conversions
So, what happens when a standard event doesn't quite fit what you need to track? That's where Custom Conversions save the day.
A Custom Conversion lets you create your own conversion event based on a simple URL rule. The classic example is tracking leads via a "thank you" page. When someone fills out your contact form or signs up for a newsletter, you redirect them to a unique page, like yourwebsite.com/thank-you.
You can then create a Custom Conversion and tell Facebook, "Hey, anytime someone lands on a URL containing '/thank-you', count it as a 'Lead'." It's an incredibly simple and powerful way to track goals without messing with code.
Here are a few real-world examples:
- SaaS Company: A user signs up for a free trial and lands on a
/welcome-onboardpage. That URL becomes your "Trial Signup" Custom Conversion. - Service Business: A potential client books a call and is sent to
/booking-confirmed. Bingo, that's your "Consultation Booked" Custom Conversion.
Custom Conversions are the perfect tool when you need to track a specific outcome tied to visiting a unique page. They're a must-have in any serious advertiser's toolkit.
Future-Proofing Your Data With Conversions API
The world of digital advertising is always in motion. With browser privacy updates, the slow death of third-party cookies, and the rise of ad blockers, relying only on the Meta Pixel for facebook ads conversion tracking is a shaky strategy. It's like building your house on a foundation that's quietly crumbling away. This is exactly why server-side tracking is no longer a "nice-to-have"—it's an absolute must.
This brings us to the Conversions API, or CAPI as it's often called. It's not here to replace your Pixel; think of it as the Pixel's essential partner. While the Pixel sends data from a user's browser, CAPI sends data directly from your server to Facebook's. This creates a much more reliable and durable data connection that neatly sidesteps many of the browser-level hiccups that cause you to lose precious conversion data.
Think of it this way: you have two messengers delivering the same critical update. If one gets stuck in traffic (that's your browser-side Pixel), the other one (your server-side CAPI) still gets through without a problem. This direct line is your insurance policy for maintaining data accuracy in a privacy-first era.
Meta Pixel vs Conversions API: A Quick Comparison
To really understand how these two work together, let's break down their key differences. They aren't competitors; they're two sides of the same coin, each with its own strengths.
| Feature | Meta Pixel (Browser-Side) | Conversions API (Server-Side) |
|---|---|---|
| Data Source | User's web browser | Your server |
| Reliability | Susceptible to ad blockers, cookie restrictions, and browser errors. | Highly reliable; not affected by browser-level disruptions. |
| Data Control | Limited control over what data is sent. | Full control over the data shared with Meta. |
| Use Cases | Tracks website interactions like page views, button clicks, and adds to cart. | Tracks web events, offline conversions, and app events with greater accuracy. |
| Setup | Relatively simple; often a copy-paste code snippet. | More technical; can be done via partner integrations or custom development. |
By using both, you create a redundant, robust tracking system that captures the full picture of your customer's journey, giving you the best of both worlds.
Connecting Your Server To Facebook
Setting up the Conversions API might sound like a job for a team of developers, but it's more accessible than you think. You have a few different paths to choose from depending on your tech stack and resources. The end goal is the same: establish that secure server-to-server link.
For most businesses, a partner integration is the path of least resistance. Platforms like Shopify and WooCommerce have built-in CAPI integrations you can switch on with just a few clicks. This approach does all the heavy lifting, automatically configuring the server connection and making sure your key events are passed along correctly.
If you're running a custom-built site or need more granular control, a manual setup is always an option. This usually means a developer will use the official CAPI documentation to send events directly from your server. It’s more involved, but it gives you maximum flexibility to track unique conversion paths. A great middle-ground is using a server-side container in Google Tag Manager, which can manage the CAPI connection without needing deep backend coding. For a deeper dive into how all these tools work in tandem, our guide on Facebook ad tracking offers more context.
The journey from a user seeing an ad to becoming a tracked conversion is what we're all trying to measure.
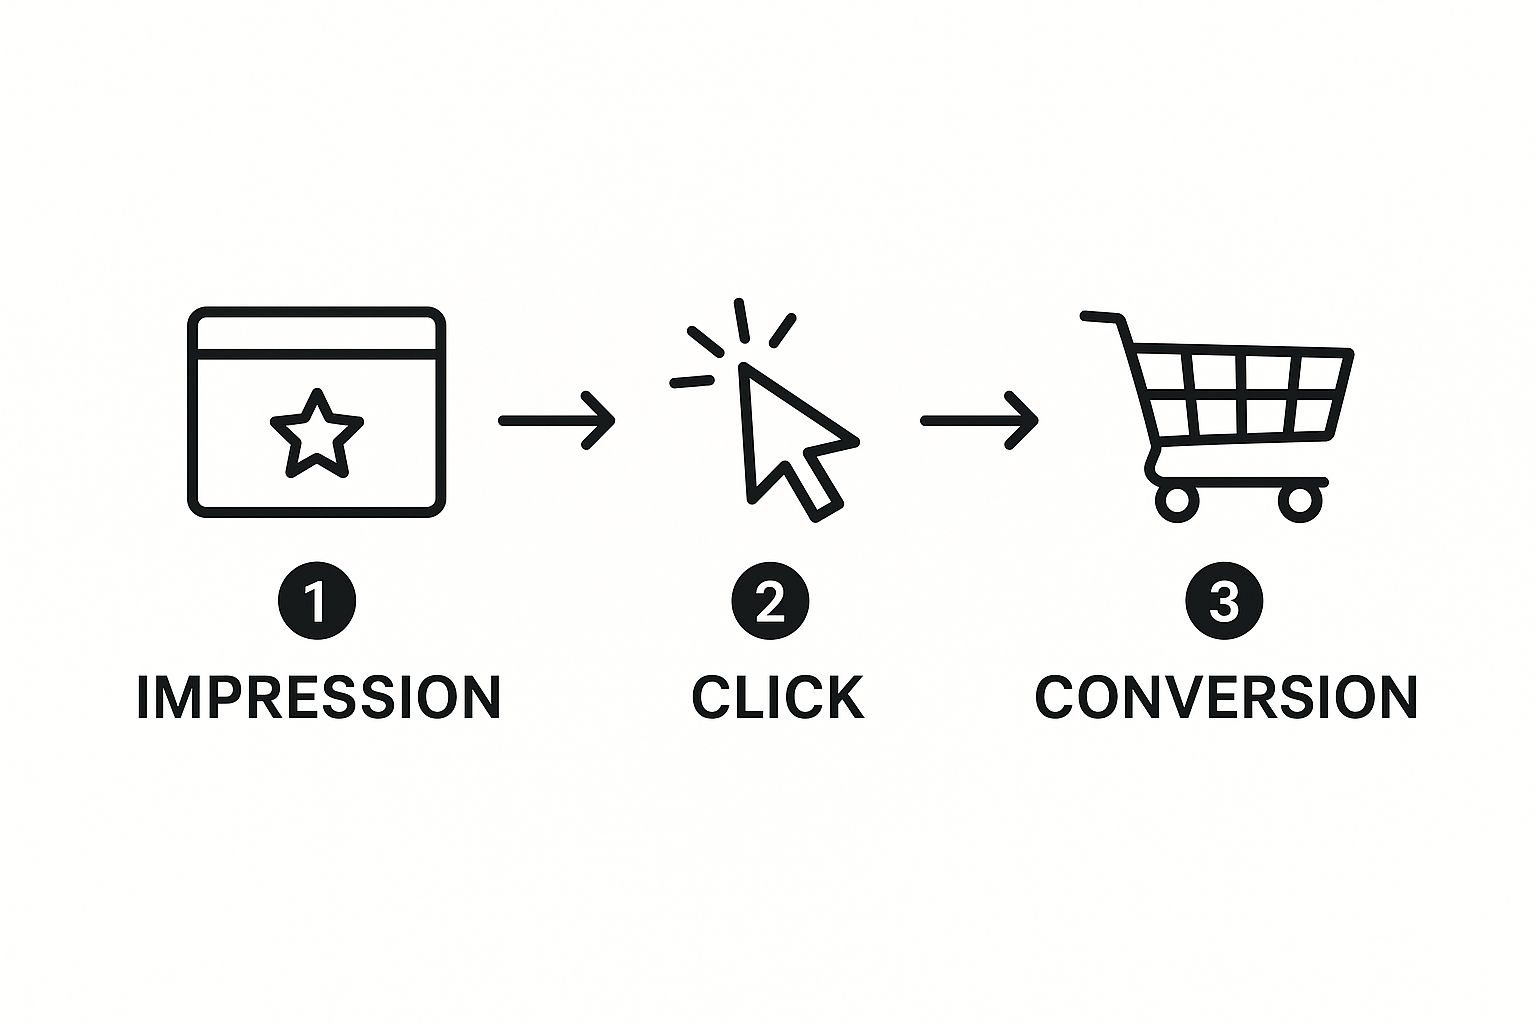
This simple flow is the ideal path, and using both the Pixel and CAPI together is the best way to measure it accurately.
The Importance Of Deduplication
Okay, so if you're sending conversion data from both the browser (Pixel) and your server (CAPI), you're probably asking, "Won't that just count every conversion twice?" It's a great question, and luckily, Facebook has a smart solution for it called event deduplication.
When you set up both tracking methods correctly, you include a unique event_id parameter with every action. So when Facebook receives a 'Purchase' event from the Pixel and another one from CAPI with the exact same event_id, it knows they are the same conversion and only counts it once. Simple as that.
This process is absolutely critical. Without proper deduplication, your conversion data will be inflated and flat-out wrong, leading to terrible optimization decisions. Facebook's system is built to prioritize the server-side event from CAPI if they both arrive, as it's generally considered the more reliable signal.
By combining the Meta Pixel with the Conversions API and making sure deduplication is working, you create a resilient, hybrid tracking system. This dual approach maximizes the conversion data you capture, giving Facebook's algorithm a richer, more complete picture of what's actually driving results for your business. This isn't just a best practice anymore—it's the modern standard for effective facebook ads conversion tracking.
How to Verify and Troubleshoot Your Tracking Setup
You’ve done the heavy lifting of setting up your Meta Pixel and Conversions API. That’s a huge step, but a killer setup is worthless if it isn't actually working.
Even a tiny error can throw your data off, causing Facebook's algorithm to optimize for the wrong things and burn through your ad budget. This is why checking your facebook ads conversion tracking isn't a one-and-done task; it's something you need to do regularly.
You have to be confident that every single event, from a page view to a big-ticket purchase, is being recorded perfectly. Luckily, Meta gives us a couple of fantastic, free tools to make this a whole lot easier.
Your Go-To Diagnostic Tools
Think of these tools as your personal data detectives. They're built to help you sniff out issues before they snowball into expensive problems. I use these every single day, and frankly, you can't be a serious advertiser without them.
-
Meta Pixel Helper: This is a non-negotiable Chrome extension for anyone running Facebook ads. Once you install it, a small icon appears in your browser. As you click around your website, it shows you exactly which Pixels and events are firing on each page and immediately flags potential errors.
-
Test Events Tool: You'll find this right inside your Facebook Events Manager. It gives you a live, second-by-second feed of every tracking event coming from your website and your server. It’s the perfect sandbox to simulate what users are doing and see precisely what data Facebook is receiving on its end.
Using these two tools together gives you a complete picture of your tracking health—from what the user’s browser sees to what your server is reporting back to Meta.
A Simple Verification Checklist
Before you launch any new campaign or after you’ve made changes to your site, run through this quick check. It takes maybe five minutes and can save you a world of hurt down the road.
-
Look for the Green Checkmark: Head over to your website with the Meta Pixel Helper extension running. Click its icon. If you see your Pixel listed with a green checkmark next to it, congratulations—the base code is installed and firing.
-
Simulate a Key Action: Now, go to the "Test Events" tab in your Events Manager. Pop your website’s URL into the test field and open it. Go through the motions of a key action, like adding an item to your cart or submitting a lead form.
-
Watch the Live Feed: As soon as you complete the action, switch back to the Test Events tool. You should see the corresponding event (like
AddToCartorLead) show up in the feed almost instantly. This is your confirmation that your event tracking is working.
Pro Tip: When you're testing, don't just look at the event name. Dive into the details. The Test Events tool will show you if an event came from the browser (Pixel), the server (CAPI), or both. Critically, it will also show if the events were successfully deduplicated, which is essential for accurate reporting.
Solving Common Tracking Headaches
No matter how good your setup is, things will eventually break. It happens to everyone. Here’s a quick guide to fixing the most common gremlins you'll run into.
A frequent one is a Pixel that doesn't fire at all. If the Pixel Helper shows absolutely nothing, the first place to look is the code placement. Double-check that the base Pixel code is sitting in the <head> section of every single page on your site.
Another classic is mismatched events between the Pixel and CAPI. Maybe you see a Purchase event from the browser but nothing from the server. This almost always points to a problem with your CAPI configuration. It could be a disconnected partner integration or a glitch in the server-side code.
By making a habit of using these tools and running through this simple process, you can keep your facebook ads conversion tracking data clean, reliable, and ready to power your most important campaign decisions.
Using Conversion Data to Optimize Ad Performance
Collecting data is just step one. The real win comes when you turn those numbers into smarter advertising decisions. With accurate facebook ads conversion tracking finally set up, you can stop guessing what works and start knowing for sure.
This is where you'll transform raw data into real, tangible improvements in your ad campaigns.
Customizing Your Reporting Dashboard
Your home base for all of this is the Facebook Ads Manager. The default reporting columns are fine, but they barely scratch the surface. To get the full story, you need to customize your view to focus on the metrics that actually drive your business forward.
Just click the "Columns" dropdown in Ads Manager and select "Customize Columns." This is your command center. Forget getting lost in vanity metrics like reach or impressions. It's time to add columns that measure what truly matters: efficiency and return.
Here are the columns I always add first:
- Cost per Result: This is your bottom line. It shows exactly how much you're paying for each lead, each sale, or whatever action you're aiming for. It's the ultimate measure of efficiency.
- Return on Ad Spend (ROAS): If you're running an e-commerce store, this is non-negotiable. It tells you the total revenue you're generating for every single dollar you put into ads.
- Conversion Rate: This metric shows the percentage of people who took your desired action after clicking an ad. A high conversion rate is a great sign that your ad creative, offer, and landing page are all working together perfectly.
Once you have accurate conversion data flowing in, you're ready to implement powerful actionable conversion rate optimization (CRO) tips that will directly boost your ad performance and ROI.
Finding Actionable Insights with Breakdowns
Looking at your top-level numbers is a good start, but it's not enough. The real magic happens when you start segmenting your data using the "Breakdown" feature. This is how you discover who is converting and what is convincing them to do it.
Try breaking down your results by these categories:
- Demographics: Are you seeing better results with women aged 25-34? This kind of data is gold for refining your audience targeting.
- Placement: Are most of your conversions coming from Instagram Stories or the Facebook Feed? You can shift your budget to the placements that are actually delivering.
- Ad Creative: Which of your ad images or videos is driving the most sales? This tells you exactly which creative style to lean into for future campaigns.
Here’s a common scenario: you might find that one of your ad creatives has a lower click-through rate but a much higher ROAS. That’s a powerful insight. It tells you the ad is attracting a smaller but more qualified audience—exactly the kind of information you need to build better campaigns.
By consistently analyzing these breakdowns, you move from simply running ads to systematically improving them. You can learn more about boosting your conversion rates with specific tactics in our detailed guide.
This process is critical. While industry benchmarks show an average Facebook ad conversion rate around 9.2%, this figure varies wildly. The fitness industry, for example, can see rates over 14%, while retail often sits closer to 2-3%.
Knowing how your performance stacks up against these benchmarks gives you crucial context. This data-driven approach is how you turn your ad spend from an expense into a predictable, scalable growth engine for your business.
Got Questions About Facebook Conversion Tracking? We've Got Answers
If you've been running Facebook ads for any length of time, you know that a few key questions always pop up around conversion tracking. It's totally normal. Getting the fundamentals right is the difference between flying blind and having a crystal-clear picture of your campaign performance.
Let's tackle some of the most common hurdles people face.
How Does the iOS 14 Update Mess with My Tracking?
Ah, the infamous iOS 14 update. This one really shook things up. When Apple rolled out its App Tracking Transparency (ATT) framework, it gave users the power to say "no" to being tracked across apps and websites.
When a user on an iOS 14.5+ device opts out, the Meta Pixel's ability to track their actions gets severely limited. You can quickly lose sight of valuable conversions, making it seem like your ads aren't working even when they are.
To fight back, Meta gave us Aggregated Event Measurement (AEM). It's their privacy-friendly way of processing web events from opted-out iOS users. To make this work for you, there are two non-negotiables:
- You absolutely must verify your domain in Facebook Business Manager.
- You need to configure and prioritize your top 8 conversion events.
This is precisely why the Conversions API (CAPI) has become so critical. Since CAPI sends data directly from your server to Facebook's, it isn't completely derailed by browser-level blocks like ATT. It's your secret weapon for reclaiming a huge chunk of that lost conversion data.
Standard Events vs. Custom Conversions: What's the Difference?
Getting your head around Standard Events and Custom Conversions is crucial. They sound similar, but they do very different jobs.
A Standard Event is a predefined action that Facebook's algorithm is built to understand. Think Purchase, Lead, or AddToCart. You’ll need to add a small snippet of code to your site to fire these events, but it's worth it. Feeding this standardized data to the algorithm is how you get powerful campaign optimization.
On the other hand, a Custom Conversion is something you create without adding any new code. It works by setting up a rule based on a URL. For example, you can tell Facebook to count every visit to your /thank-you-for-your-purchase page as a conversion. It's a quick and easy way to track an action.
So, when should you use which?
Use Standard Events for the core actions you want Facebook to find more of—the stuff that actually makes your business money. Use Custom Conversions for more specific, secondary goals or when you simply can't get new code added to a particular page.
Tired of the tedious, time-wasting cycle of manually downloading leads? LeadSavvy Pro puts that process on autopilot. It sends your new Facebook leads straight to your CRM or a Google Sheet the second they come in, so you can focus on converting them. Check out our free plan and see how it works.