A Practical Guide to Using Email Templates in Gmail
If you're drowning in repetitive emails, email templates in Gmail are about to become your best friend. This isn't some third-party add-on; it's a built-in Gmail feature that lets you create, save, and reuse entire emails with just a couple of clicks.
Think of it as your personal library of ready-to-go responses. What once took minutes to type out now takes seconds to insert.
Why Gmail Templates Are a Productivity Secret Weapon
Let's be real—how much of your day is spent rewriting appointment confirmations, answering the same five questions, or following up with new leads? That time adds up fast, draining your energy and bogging down your entire workflow.
This is exactly where building a system of email templates in Gmail becomes a total game-changer. It’s not just a neat trick; it’s a foundational productivity tool that lives right inside your inbox.
Imagine a new lead from your latest social media campaign hits your inbox. Instead of scrambling to type a thoughtful response from scratch, you deploy a polished, on-brand message in seconds. That kind of speed is what closes deals.
Reclaim Your Time and Energy
The biggest win here is simple: you stop doing redundant work. This isn’t about shaving off a few seconds here and there; it’s about clawing back huge chunks of your day. All that recovered time can be poured back into the strategic tasks that actually grow your business.
The real power of templates is in fighting decision fatigue. When you automate your standard replies, you save your mental bandwidth for the tough problems and creative work that really matter.
Ensure Brand Consistency and Professionalism
Templates are your secret weapon for keeping every communication consistent and professional. Every new lead gets the same high-quality information, every client receives a crystal-clear confirmation, and your brand's voice stays solid across the board. That kind of reliability builds trust and makes you look like a pro.
With 1.8 billion active accounts, Gmail is the undisputed champ of email, handling around 30% of the world's daily email volume. For businesses like LeadSavvy Pro that manage client communications and lead follow-up, mastering its features is non-negotiable. If you want to dive deeper, check out the latest email industry statistics to see just how critical this is.
How to Activate and Create Your First Template
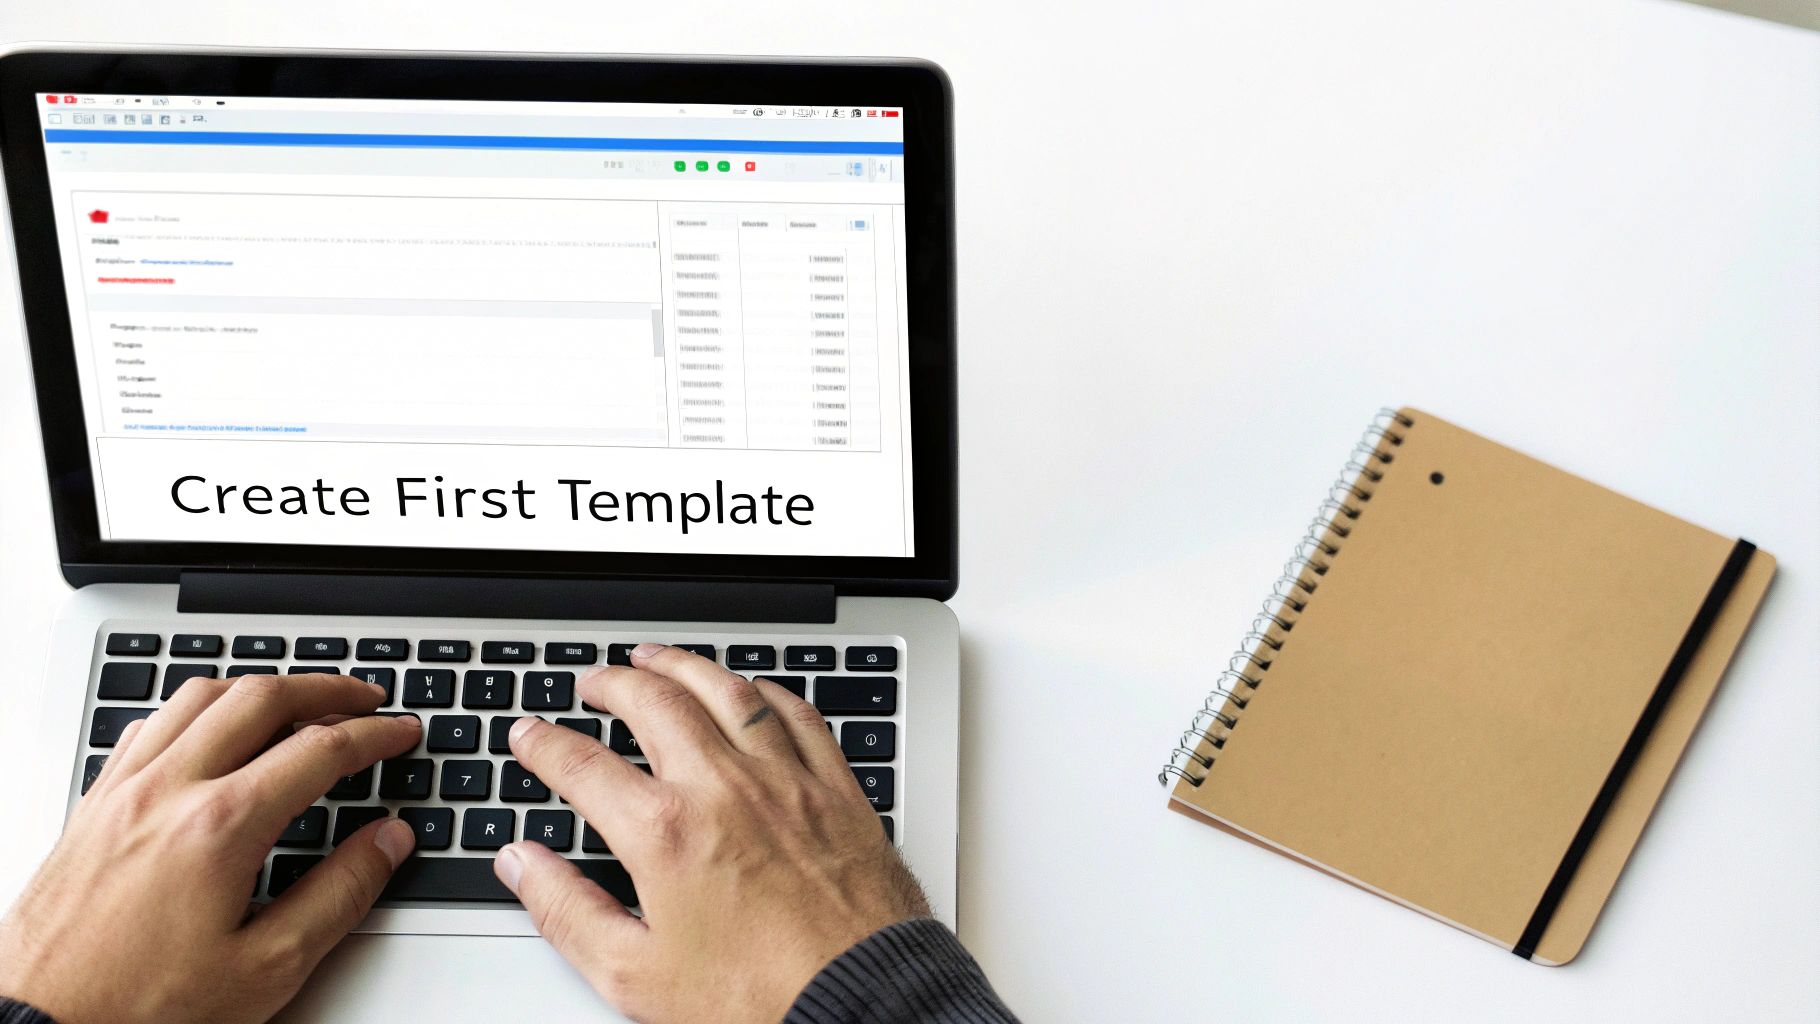
Before you can start firing off templates and saving yourself hours, you need to flip a switch. The feature is built right into Gmail, but it’s tucked away in the advanced settings and turned off by default. It's a quick one-time setup that unlocks the whole system.
Think of it as adding a new superpower to your inbox. Once it's on, it's on for good.
Here’s how to get it done in under a minute:
- Click the gear icon at the top right of your Gmail screen.
- Hit See all settings.
- Jump over to the Advanced tab.
- Find the Templates section and select Enable.
- Don't forget to scroll down and click Save Changes. Gmail will refresh, and you'll be ready to go.
With that out of the way, you can now build your first reusable message. This is where the time-saving really begins.
Crafting Your First Reusable Email
Let's start with a classic: the "New Client Welcome" email. The goal is to create a professional, friendly message that you can quickly personalize for every new client you bring on board.
First, click Compose to open a new email window, just like you always do. The difference is, you aren't writing this to a specific person just yet—you're building the master copy.
Once you have your draft written, you'll be using the menu options to save it as a new template. This "Save draft as template" option is your best friend for building a library of go-to responses.
Now, let's write the email. The key is to use placeholders for any details that will change, like the client's name or the project they're working on. I like to use brackets to make them impossible to miss, like [First Name] or [Project Name].
Here's a simple, effective structure you can use:
- Subject: Welcome to the Team,
[First Name]! - Body: Hi
[First Name], I'm so excited to start working with you on[Project Name]. As a first step, I've attached our onboarding guide. Please let me know if you have any questions.
Pro Tip: Make your placeholders obvious. Using brackets like
[Placeholder]is a great visual cue that reminds you to fill in the blanks. It’s a simple trick that prevents you from sending an embarrassing email with a generic field still in it.
Once the text is perfect, click the three-dot menu at the bottom of the compose window. From there, hover over Templates, then Save draft as template, and finally, choose Save as new template.
Give it a descriptive name like "New Client Welcome" and hit Save. That’s it! You've just created your first of many email templates in Gmail.
Managing Your Templates for Daily Use
Creating your first few email templates in Gmail is a great start, but the real magic happens when you master how to manage them day-to-day. Think of your template library not just as a storage folder, but as a dynamic toolkit that saves you time, prevents embarrassing typos, and grows with your business.
Using a saved template is a breeze. When you’re in a new email draft, just click the three-dot menu, hover over Templates, and pick the one you need. Boom. The subject and body text instantly appear, ready for you to add a personal touch. This is where you really feel the payoff from that initial setup.
Your template library isn't a "set it and forget it" feature. It's a living, breathing part of your workflow. Pruning and refining your templates keeps them sharp, effective, and easy to grab when you're in a hurry.
Keeping Your Library Clean and Current
Your business changes, and so should your messaging. A follow-up email that felt perfect last quarter might sound completely off-key today. That’s why a little template maintenance goes a long way.
To edit an existing template, just pop it into a new draft, make your changes, and then re-save it over the old one. Go to Templates > Save draft as template > Overwrite Template and select the original name. This updates the master copy without forcing you to start from scratch.
And if a template is past its prime? Get rid of it. A cluttered list just slows you down. Navigate to Templates > Delete template and choose the one you want to remove. A lean library means you can find the right message in seconds.
Smart Naming Conventions for Easy Access
When you only have two or three templates, a name like "Welcome Email" works just fine. But what happens when you have ten, twenty, or more? You need a system. A logical naming convention is the secret to finding the right message without having to click through half a dozen wrong ones.
I'm a big fan of using a prefix-based system. It groups similar templates together automatically.
Here are a few real-world examples to get you started:
- FollowUp-Day1-NewLead: For that crucial first touchpoint.
- Meeting-Confirm-Client: To confirm a scheduled call.
- Invoice-Reminder-PastDue: For gently nudging late payments.
- Onboarding-Step2-Resources: Part of a sequence for new customers.
This structure sorts your templates alphabetically, making your workflow incredibly efficient. If you’re looking for more ideas on how to structure your follow-ups, these proven lead nurturing email templates are a goldmine for building an effective sequence.
By naming your files strategically, you turn a simple list into a powerful communication arsenal.
Advanced Strategies for Automating Your Workflow
Once you've built a solid library of email templates in Gmail, the real fun begins. You can move beyond one-off replies and start building automated workflows that handle the grunt work for you. This is where you graduate from saving minutes to saving hours.
A classic example? Running a mail merge. Let's say you need to send a personalized quarterly update to 50 clients. Instead of the soul-crushing task of editing and sending 50 separate emails, a mail merge automates the entire thing using a single template and your contact list.
Supercharge Templates with a Mail Merge
The easiest way to pull this off inside the Google ecosystem is by connecting Google Sheets with a Google Workspace add-on. Tools like Yet Another Mail Merge (YAMM) are built for exactly this. They let you pull data straight from a spreadsheet and plug it into your Gmail templates.
Here’s what that looks like in practice:
- Prep Your Data in Google Sheets: Start with a simple sheet. Create columns for each piece of info you want to personalize, like
FirstName,CompanyName, orProjectUpdate. Each row is a unique person you're emailing. - Build Your Gmail Template: Jump over to Gmail and write your email, saving it as a template. Where you need personalized text, use merge tags that match your column headers, like
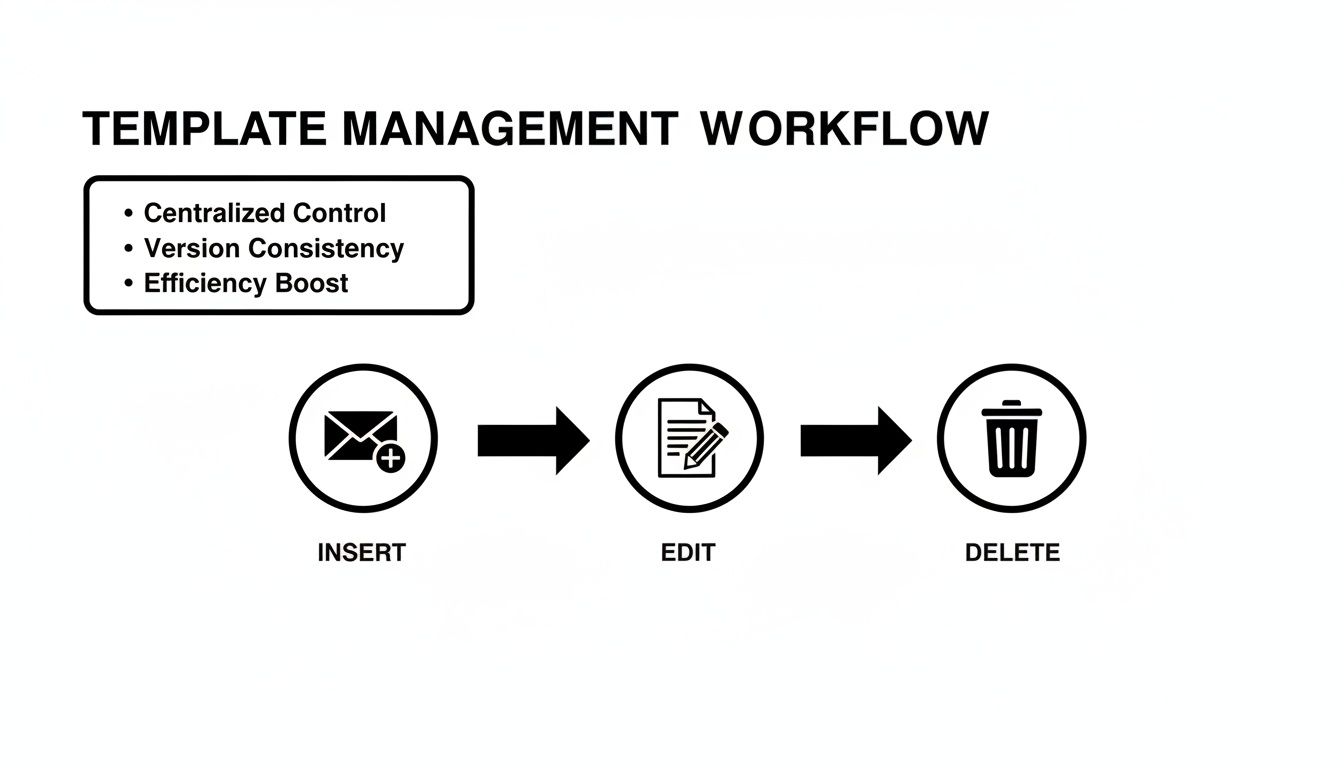
{{FirstName}}and{{CompanyName}}. This tells the add-on where to stick the data. - Run the Add-on: Back in your Google Sheet, fire up the mail merge add-on. You'll point it to your Gmail draft, match the columns to your merge tags, and with one click, send a unique, personalized email to everyone on your list.
This workflow visualizes how you can manage your templates—the foundation for any mail merge or automation you build.
This process is the building block for more powerful campaigns. If you're looking to connect your inbox efficiency to bigger business goals, it's worth exploring how to get started with setting up email marketing automation that actually works.
While native Gmail templates are fantastic for quick replies, pairing them with a mail merge tool from Google Sheets unlocks true personalization at scale. Here’s a quick comparison of what you get with each approach.
Gmail Template Power-Up Comparison
| Feature | Native Gmail Templates | Gmail + Mail Merge Add-on |
|---|---|---|
| Personalization | Manual (one-by-one) | Automatic from spreadsheet data |
| Best For | Quick, individual follow-ups | Bulk outreach, announcements |
| Sending Volume | One at a time | Hundreds at once |
| Tracking | None | Open, click, and reply tracking |
| Setup | Simple, built into Gmail | Requires a Google Sheet & add-on |
As you can see, using an add-on takes things to a whole new level, turning your simple templates into a powerful outreach machine.
Use Filters to Triage and Respond Faster
Another killer automation strategy uses something you already have: Gmail's filters. You can create rules that automatically find and label incoming emails that need a canned response.
For example, if you constantly get emails with "quote request" in the subject line, you can create a filter to catch them.
Pro Tip: Set up a filter that looks for keywords like "demo request" or "pricing info" and automatically slaps a "Needs Template" label on them. This transforms your inbox into a smart to-do list, showing you exactly which emails are ready for a quick, templated reply.
This method allows you to batch your work. Instead of being a slave to notifications, you can check your labeled messages a couple of times a day and fire off the right templates in a matter of minutes.
And if you want to connect Gmail to other apps in your stack, understanding your options is crucial. Our guide on IFTTT vs Zapier breaks down two of the most popular automation platforms to help you build even more powerful workflows.
Best Practices for Crafting Effective Templates
A great template does more than just save you a few minutes; it drives action. Crafting email templates in Gmail that get results is an art, blending efficiency with a personal touch. The real goal is to create messages that don't feel like they came from a template, even when they did.
This means you have to ditch the robotic language and focus on a natural, conversational tone. Write like you're talking to one person. Use contractions, ask questions, and keep your sentences short and punchy. Nobody wants to read a stuffy, corporate email.
The most effective templates are built on empathy. Before you write a single word, ask yourself: "What does the person on the other end need to hear right now, and how can I make this as clear and helpful as possible?"
Design for the Mobile Inbox First
Thinking "mobile-first" isn't just a suggestion anymore—it's essential. A staggering 75% of Gmail's massive user base reads emails on a mobile device, with mobile views far outpacing desktop. If you don't optimize for small screens, you're losing engagement before your recipient even reads the first line.
So, how do you make your templates mobile-friendly? It's easier than you think.
- Embrace white space. Break up your text into short paragraphs, just one to three sentences long. This makes your content scannable and way less intimidating on a narrow screen.
- Keep it concise. Get straight to the point. Mobile users are often multitasking, so your message needs to be immediately clear.
- Use a single, clear call-to-action (CTA). Don't confuse people with multiple requests. One compelling next step is always more effective.
These simple adjustments ensure your message is easy to digest, whether it's viewed on a laptop or a smartphone.
Personalize and Be Specific
The key to making templates feel personal is using your placeholders strategically. Go beyond just [First Name]. Think about other details you can easily pop in to add context and show you've actually done your homework.
Here are a few examples of how I use smart personalization:
- For a sales follow-up: "Hi
[First Name], I really enjoyed our conversation about[Specific Pain Point]and thought you might find this resource on[Relevant Topic]helpful." - For a networking outreach: "Hi
[First Name], I saw your recent post on LinkedIn about[Their Recent Project]and was really impressed. I’d love to connect and learn more."
These small touches transform a generic message into something that feels tailored. The more specific you can be, the more genuine your outreach will feel. For more inspiration, check out our collection of effective email campaign examples that you can easily adapt.
Once you've got the hang of creating and managing your Gmail templates, you can level up your outreach by reviewing these B2B Email Marketing Best Practices. By focusing on a human tone, mobile optimization, and smart personalization, you'll create templates that not only save time but also build stronger connections and drive way better results.
Troubleshooting and Common Questions
As you start working Gmail email templates into your daily flow, you’re bound to hit a few snags. It happens to everyone. To save you some time and frustration, I’ve put together a list of the most common questions and issues that pop up—along with quick fixes to get you back on track.
Can I Use Email Templates in the Gmail Mobile App?
This is easily the number one question people ask. The short answer is no, not directly. The official "Templates" feature is a desktop-only perk for now, so you won't find the option to insert them in the Gmail app on your phone or tablet.
But don't worry, there's a simple workaround that plenty of us use.
Just save your template text in a notes app. Google Keep is perfect for this, but your phone’s built-in notes app works just as well. When you’re on the go and need to send a templated email, pop open your notes, copy the text, and paste it into a new message in the Gmail app. It's one extra step, but it keeps your messaging consistent and professional, even when you're away from your desk.
Is There a Limit to How Many Gmail Templates I Can Save?
Yes, there's a cap. Gmail lets you save up to 50 templates per account. For most of us, that's more than enough room for everything from sales follow-ups to customer support replies.
However, if you're running multiple campaigns or handling a wide range of client communications, you might start bumping up against that limit. This is why it's a good idea to do a quick clean-up every few months. Take a look at your saved templates and delete any that are outdated or that you rarely use. This keeps your list tidy and frees up space for new ones. (Remember those clear naming conventions we talked about? They make this process way faster.)
Why Did My Formatting Disappear from My Template?
This is one of those incredibly frustrating problems that almost always has a simple fix. If your bolding, links, and images vanish, you've probably switched your email composer into Plain Text Mode by accident.
Gmail templates are designed to hold onto all that rich formatting, but only when you're in the standard composing mode. Plain text mode, as the name suggests, strips everything back to basics.
To fix it, just click the three-dot menu ("More options") at the bottom right of the compose window. Find "Plain text mode" in the menu and make sure it's unchecked. Toggling it off should bring all your formatting tools back to life.
A quick pro tip: Always double-check this setting before you save a new template. Making sure you're in the standard editor from the start guarantees your styling gets locked in exactly as you intended. No more formatting surprises.
Getting this right is a bigger deal than you might think. With 3.13 million emails sent every second, you need to stand out. For sales teams, a well-formatted template can make all the difference, especially when you learn that 51% of consumers prefer email but spend only about 10 seconds reading each one. You can find more stats like these in recent industry reports.
Clean, concise, and professional communication is what converts leads without all the manual work.
Ready to stop downloading CSV files and start converting leads the moment they arrive? With LeadSavvy Pro, you can instantly sync your Facebook Lead Form submissions to Google Sheets or your CRM and get immediate email notifications. Try our free plan and see how effortless lead management can be. Get started with LeadSavvy Pro today